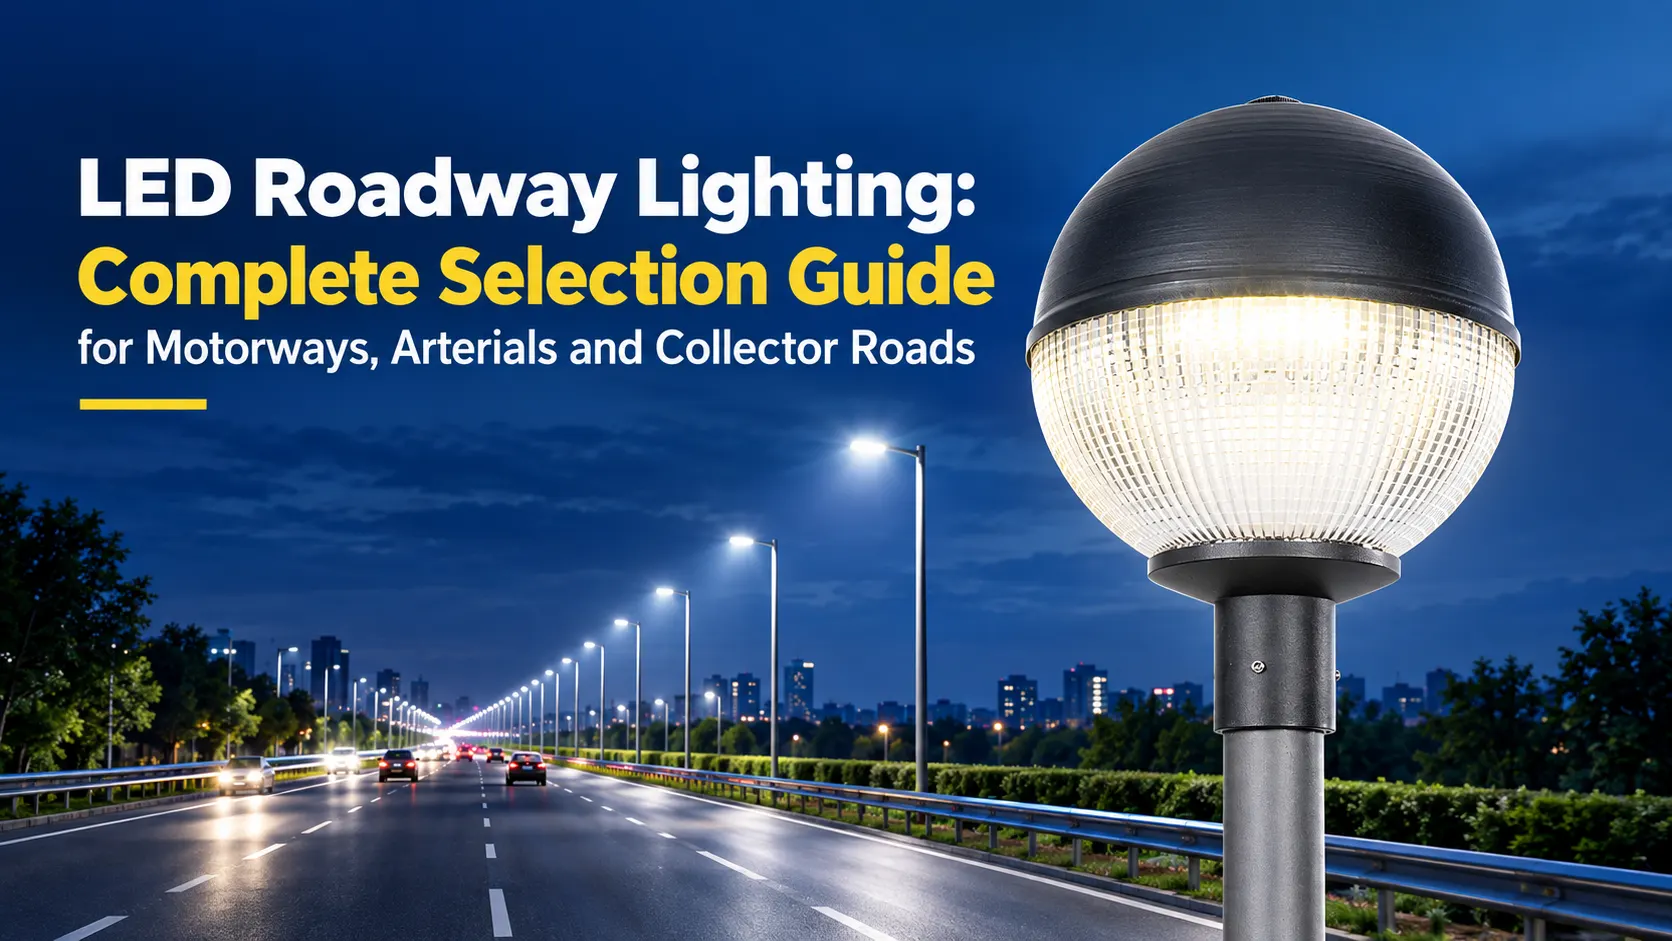
Urban Street Lighting: Avoiding Unsafe Roads, Uneven Illumination, and Costly Design Mistakes
Poor urban street lighting can create serious problems for municipalities and infrastructure contractors. Insufficient illuminance makes pedestrians and road hazards harder to see, while uneven distribution creates distracting bright and dark areas. Incorrect pole spacing or unsuitable optics can increase glare, waste energy, and raise installation costs. Without accurate photometric calculations, even high-quality LED street lights may fail to meet project specifications. A successful design must therefore balance lighting performance, pole geometry, optical distribution, and verified photometric data from the beginning.
Effective urban street lighting design requires suitable illuminance or luminance targets, consistent uniformity, correctly calculated pole height and spacing, appropriate Type I–V optics, and verified IES or LDT photometric files. Luxific, an LED outdoor lighting Manufacturer established in 1999, provides project-oriented street lighting solutions with OEM and ODM customization options.
1. Illuminance, Luminance, and Uniformity Targets
The first step in designing urban street lighting is to establish measurable lighting requirements. Residential streets, urban main roads, pedestrian pathways, and mixed-use districts have different traffic conditions and visual requirements. Selecting a fixture based only on wattage or lumen output is not enough. The lighting design must demonstrate that the installed system can meet the specified performance criteria.
Understand the Three Essential Lighting Measurements
- Illuminance: Measured in lux, it describes the amount of light reaching a surface. It is commonly used to evaluate sidewalks, pedestrian areas, and road surfaces where illuminance-based criteria apply.
- Luminance: Measured in candela per square metre, it describes the brightness of a surface as seen by an observer. It is particularly relevant to driver visibility on roads designed using luminance-based criteria.
- Uniformity: It describes how evenly light is distributed across the assessment area. Good uniformity helps prevent excessively bright and dark sections along a road.
Match Lighting Targets to Urban Applications
Lighting requirements should follow the applicable local standard, road classification, traffic conditions, and project specifications. The following table provides a practical comparison of design priorities rather than fixed regulatory lighting values.
| Application | Key Lighting Requirements | Design Priority |
|---|---|---|
| Residential streets | Vehicle visibility, pedestrian movement, and comfortable brightness | Uniformity and limited light intrusion |
| Urban main roads | Driver visibility, traffic flow, and intersection coverage | Consistent road illumination |
| Local access roads | Low-speed traffic, parked vehicles, and property entrances | Balanced light distribution |
| Pedestrian pathways | Obstacle visibility, facial recognition, and walking comfort | Visual comfort and adequate coverage |
| Mixed-use districts | Vehicle traffic, pedestrians, shops, and nearby residences | Flexible lighting and glare control |
Establish Project Lighting Requirements
- Identify the road classification and applicable lighting standard.
- Confirm whether the project requires illuminance, luminance, or both.
- Define average and minimum lighting levels and the required uniformity ratios.
- Identify critical locations such as intersections, pedestrian crossings, and bus stops.
- Specify glare limitations and restrictions on light spilling into residential properties.
These details give the Manufacturer and project engineer a clear basis for recommending fixture output, optical distribution, and installation arrangements.
2. Pole Height, Spacing, and Arrangement
Pole height and spacing directly influence lighting coverage, uniformity, glare, and the total number of luminaires required. A powerful LED street light cannot compensate for an unsuitable installation layout. The correct configuration depends on road width, lane arrangement, mounting height, bracket outreach, and the selected optical distribution.
Choose the Appropriate Pole Arrangement
- Single-sided arrangement: Poles are installed along one side of the road. This layout may be suitable for narrower streets when photometric calculations confirm sufficient coverage.
- Staggered arrangement: Poles alternate between opposite sides of the road. It can help distribute light across wider road surfaces.
- Opposite arrangement: Poles are installed directly opposite each other. This arrangement may be considered for wider roads requiring coverage from both sides.
- Central median arrangement: Poles are positioned along the road median where infrastructure conditions and local regulations permit.
Evaluate the Relationship Between Pole Height and Spacing
Mounting height and pole spacing must be considered together. Increasing mounting height changes the illuminated area and light intensity on the road. Increasing spacing may reduce the number of poles, but can also create dark zones if the selected optic cannot provide sufficient coverage.
| Design Factor | Information to Confirm | Effect on Lighting Design |
|---|---|---|
| Pole height | Road width, mounting restrictions, and required coverage | Light spread and intensity distribution |
| Pole spacing | Uniformity and minimum lighting requirements | Number of fixtures and dark-zone control |
| Road width | Lane count, sidewalks, cycle lanes, and medians | Optical distribution and pole arrangement |
| Bracket outreach | Distance between the pole and luminaire position | Light placement and potential glare |
| Surrounding obstacles | Trees, buildings, signs, and overhead structures | Light obstruction and coverage gaps |
Follow a Practical Layout Design Process
- Collect the road plan, cross-section, and proposed pole locations.
- Confirm road width, sidewalk dimensions, mounting height, and bracket outreach.
- Select a preliminary pole arrangement and spacing.
- Use photometric software to calculate the proposed lighting performance.
- Adjust pole positions, spacing, fixture output, or optics until the design meets project requirements.
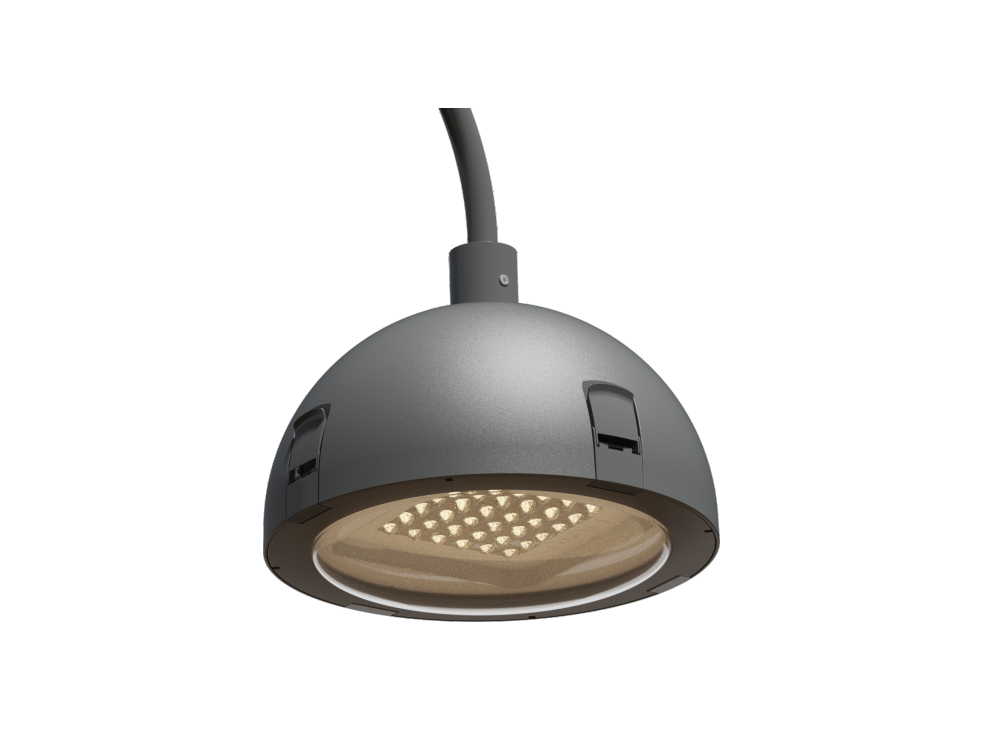
Luxific offers LED outdoor lighting solutions for residential areas, parks, public squares, and urban roads. Its SPHERE series features beam angles up to 179 degrees and an IP66-rated structure, according to the company’s product information. The final fixture configuration should be selected through project-specific photometric evaluation.
3. Type I–V Optics and Light Cutoff
Optical distribution determines how light travels from the luminaire to the road surface. Choosing the wrong optic can produce bright spots directly below fixtures while leaving other sections poorly illuminated. For this reason, optical selection should be based on road geometry, pole arrangement, mounting height, and required uniformity rather than wattage alone.
Understand the Main Type I–V Distributions
- Type I: A narrow distribution generally considered for narrow pathways and applications where poles are positioned near the edge of the illuminated area.
- Type II: Commonly considered for narrow roads, walkways, and areas requiring relatively limited forward and lateral coverage.
- Type III: Often used for road and area lighting where light needs to extend across a broader surface in front of the pole.
- Type IV: An asymmetric distribution that can suit perimeter areas and road edges where light needs to be directed outward.
- Type V: A symmetrical distribution that can be suitable for central pole positions and open areas requiring light around the fixture.
These descriptions are general selection guidelines. Actual beam patterns vary between optical designs and luminaire models. Buyers should always examine the manufacturer’s photometric files to confirm the distribution rather than relying on the Type I–V label alone.
Control Glare and Unwanted Light Spill
Urban street lighting should illuminate the intended area without directing excessive light toward drivers, residential windows, or the night sky. Suitable optical control helps improve visual comfort while limiting unnecessary illumination outside the project boundary.
During product selection, evaluate the following:
- Whether the optical distribution matches road width and pole arrangement.
- Whether the luminaire provides suitable glare control for its mounting position.
- Whether sidewalks, crossings, and pedestrian areas receive the required coverage.
- Whether nearby homes and buildings are protected from excessive light intrusion.
- Whether the selected optic can meet uniformity requirements without unnecessary over-lighting.
Consider Customizable OEM and ODM Solutions
Different municipal projects and regional markets may require different fixture dimensions, housing materials, appearances, and technical configurations. Luxific provides OEM and ODM services for project-oriented customization, including product appearance, materials, dimensions, colors, logo integration, and packaging. Available material options described in the company profile include ABS engineering plastic, PC, powder-coated steel, and stainless steel.
These services can help lighting distributors, contractors, and Wholesalers develop product configurations suited to their market requirements and project specifications.
4. Validate Lighting Performance with IES and LDT Photometric Files
Photometric files provide essential technical information about a luminaire’s light distribution. IES and LDT files can be imported into compatible lighting design software to simulate a proposed street lighting installation. Engineers can then evaluate whether the selected fixture and pole layout meet the project’s lighting requirements before ordering equipment.
What Should Be Checked in a Photometric File?
- Optical distribution: Confirm that the intensity pattern matches the road layout and intended pole arrangement.
- Illuminance or luminance: Review calculated values against the project’s specified criteria.
- Uniformity: Check average and minimum values and the required uniformity ratios.
- Glare and light spill: Evaluate unwanted brightness and illumination outside the target area.
- Installation parameters: Confirm mounting height, pole spacing, bracket outreach, fixture tilt, and calculation area.
Follow a Photometric Verification Process
- Request the IES or LDT file for the exact luminaire model, lumen output, and optical configuration.
- Import the file into the lighting design software specified by the project engineer.
- Enter actual road dimensions, pole positions, mounting heights, and installation parameters.
- Run the calculation and compare the results with the required lighting criteria.
- Adjust the optical distribution, fixture output, or pole arrangement if the results do not meet specifications.
- Save the final calculation report and confirmed product configuration for project documentation.
Verify Product Certifications and Technical Documents
Photometric performance is only one part of product evaluation. Project buyers should also check electrical specifications, mechanical protection, test reports, and certifications required by the destination market. A certificate must be checked against the exact product model and its applicable scope.
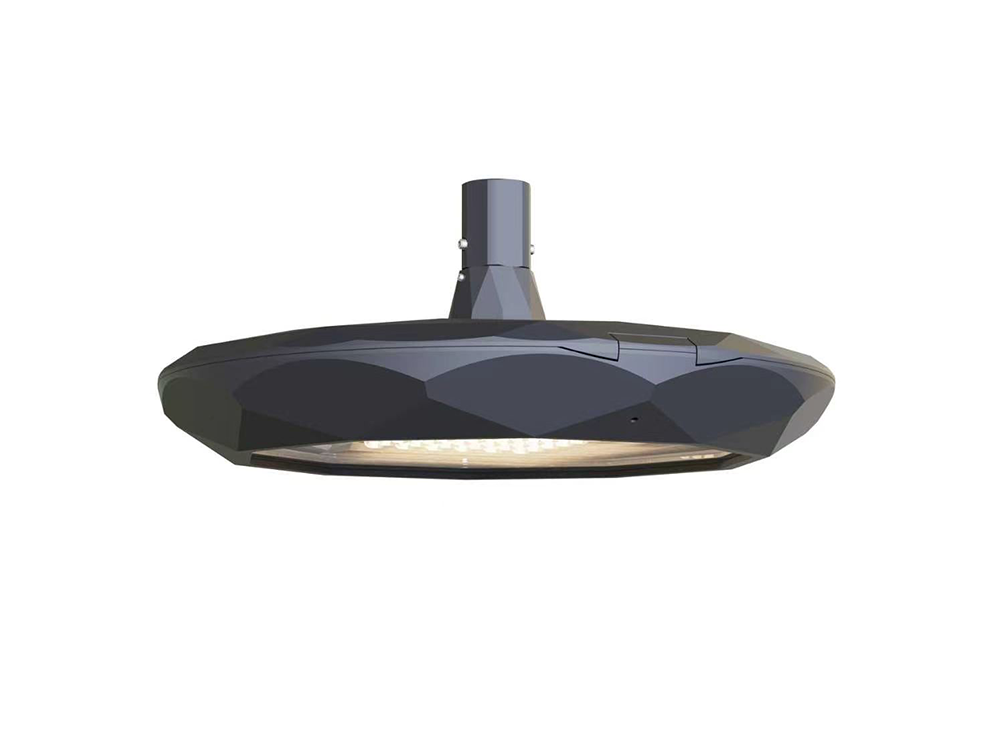
Luxific’s PIECES street light product information lists multiple Type I–V optical distributions, an IP66 rating, IK09 impact protection, and 10KV, 10KA surge protection. The listed technical references include CE, CB, ENEC, EMC, TM21, LM79, and IEC 62471. Buyers should request current documentation and confirm the validity and scope of each certificate before project approval.
5. Select a Reliable Street Lighting Manufacturer and Supplier
For municipalities, EPC contractors, infrastructure companies, and lighting distributors, choosing a Supplier involves more than comparing initial purchase prices. Product consistency, technical documentation, communication, customization, and delivery coordination all affect project execution and long-term maintenance costs.
Luxific was established in 1999 in Liangnong, Yuyao, Zhejiang, China, and specializes in LED outdoor lighting. Its company profile describes in-house R&D, product testing, and OEM and ODM services. With a factory-based production model and five production lines, Luxific supports B2B wholesale and project supply requirements.
Before confirming an order, use this checklist:
- Confirm that the proposed luminaire meets the project’s lighting specifications.
- Review IES or LDT files for the exact model and optical configuration.
- Verify certificates and test reports for the destination market.
- Check housing materials, IP and IK ratings, and electrical specifications.
- Confirm warranty terms, spare parts availability, and technical support arrangements.
- Agree on production lead time, inspection procedures, packaging, and shipping schedule.
- Evaluate lifecycle costs, including energy consumption, maintenance, and replacement requirements.
A well-designed urban street lighting system depends on measurable targets, suitable pole geometry, controlled optical distribution, and verified photometric calculations. Working with an experienced Manufacturer and a responsive Supplier helps project buyers make informed decisions based on performance, reliability, and long-term operating costs.
Request a Luxific Street Lighting Proposal
Send Luxific your road dimensions, pole height, target illuminance, required quantity, destination market certifications, and delivery schedule. Our team can review your requirements and prepare a suitable LED street lighting proposal. Contact sales@luxificlighting.com.