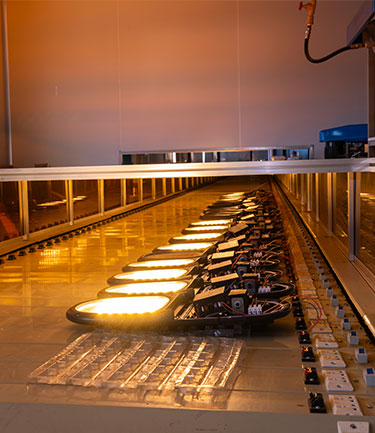
Why Common Street Light Failures Can Become Expensive Project Problems
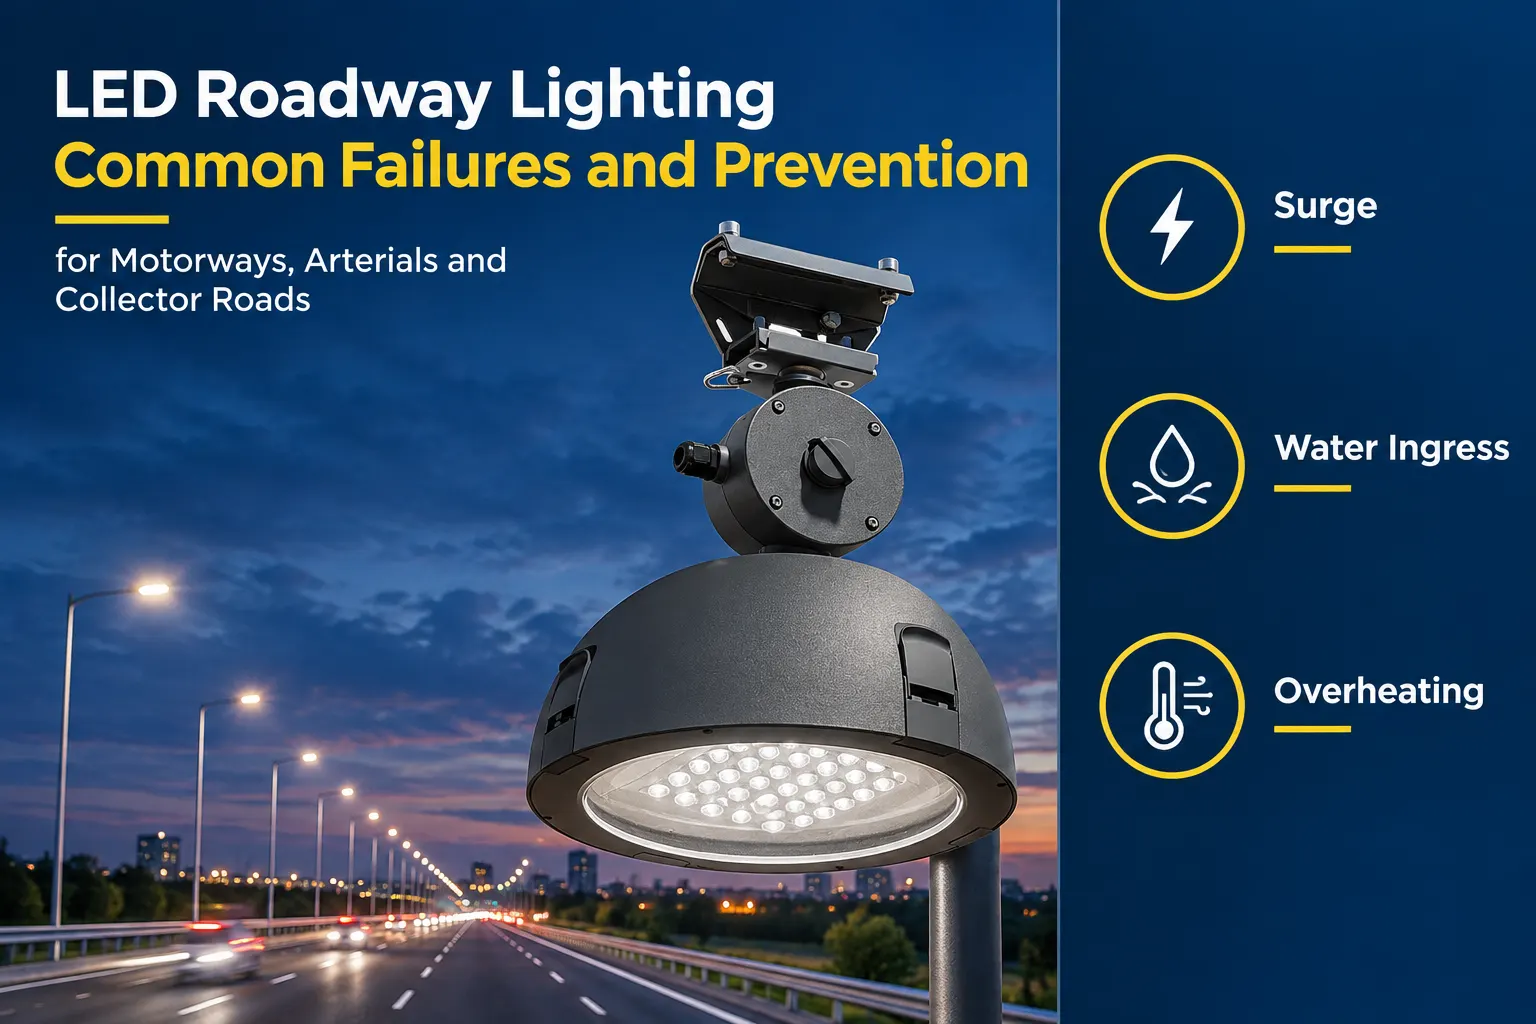
Commercial street lighting failures rarely begin with one obvious defect. Excessive glare, dark spots, water ingress, overheating, or surge damage can result from unsuitable specifications or incomplete commissioning. Once installed across an estate, campus, or public road, correcting these problems can require labor, equipment, traffic management, and replacement fixtures. The real risk is not only technical failure but also safety complaints, project delays, and rising maintenance costs. A prevention focused approach should therefore verify optics, protection, thermal design, electrical requirements, and site performance before full deployment.
How to Prevent Commercial LED Street Light Failures
Prevent common street light failures by matching optics and output to the road layout, controlling glare, verifying uniformity, protecting against surge and water ingress, managing heat, and commissioning the installed system correctly. Luxific supports project focused, Customizable solutions with OEM and ODM capabilities to help contractors and infrastructure buyers reduce avoidable specification risks.
1. Glare and Over Lighting: More Light Is Not Always Better
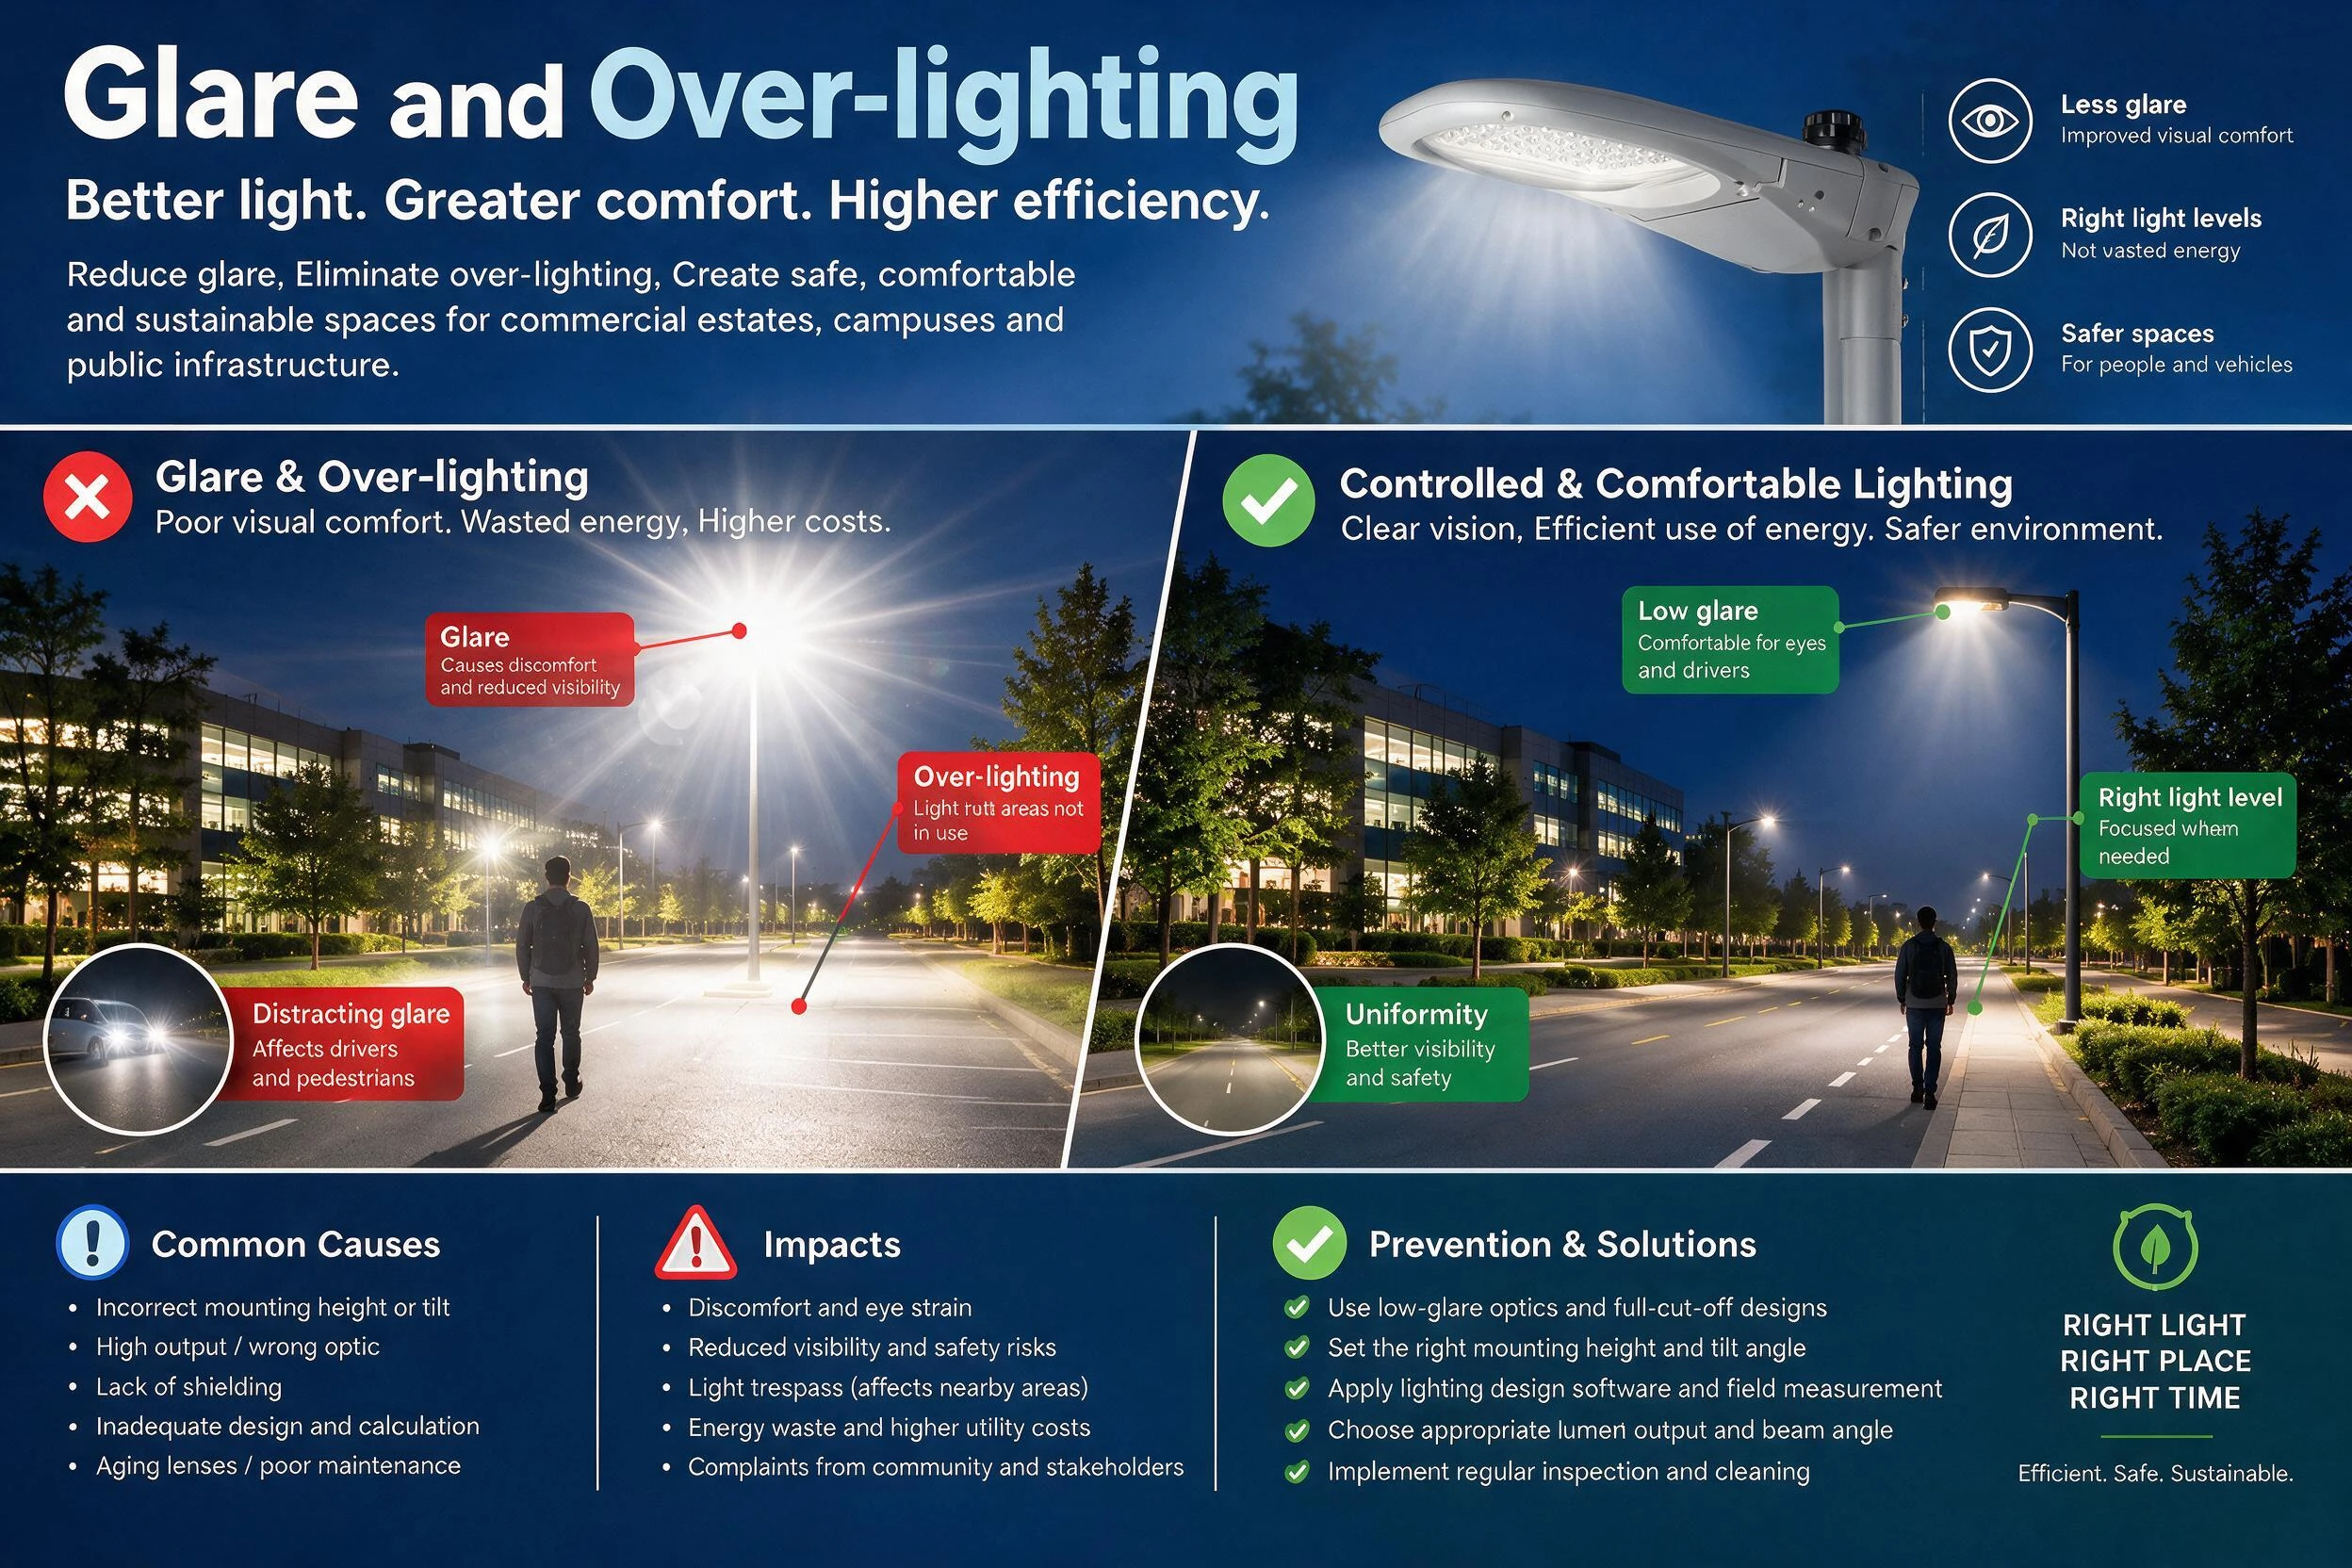
One common mistake is assuming that higher lumen output automatically means better street lighting. In reality, excessive light can create glare, visual discomfort, unnecessary energy consumption, and unwanted illumination outside the target area.
Common Causes of Glare
- Incorrect optical distribution
- Excessive fixture output for the application
- Incorrect mounting angle
- Unsuitable pole height
- Inappropriate pole spacing
- Light directed toward nearby buildings or properties
- Using a general purpose optic where a road specific distribution is required
How to Prevent Over Lighting
- Define the required illuminance before selecting the fixture.
- Measure road width and mounting height.
- Review the pole arrangement.
- Select an optical distribution that matches the geometry.
- Check the proposed configuration with photometric software.
- Review potential light spill outside the intended area.
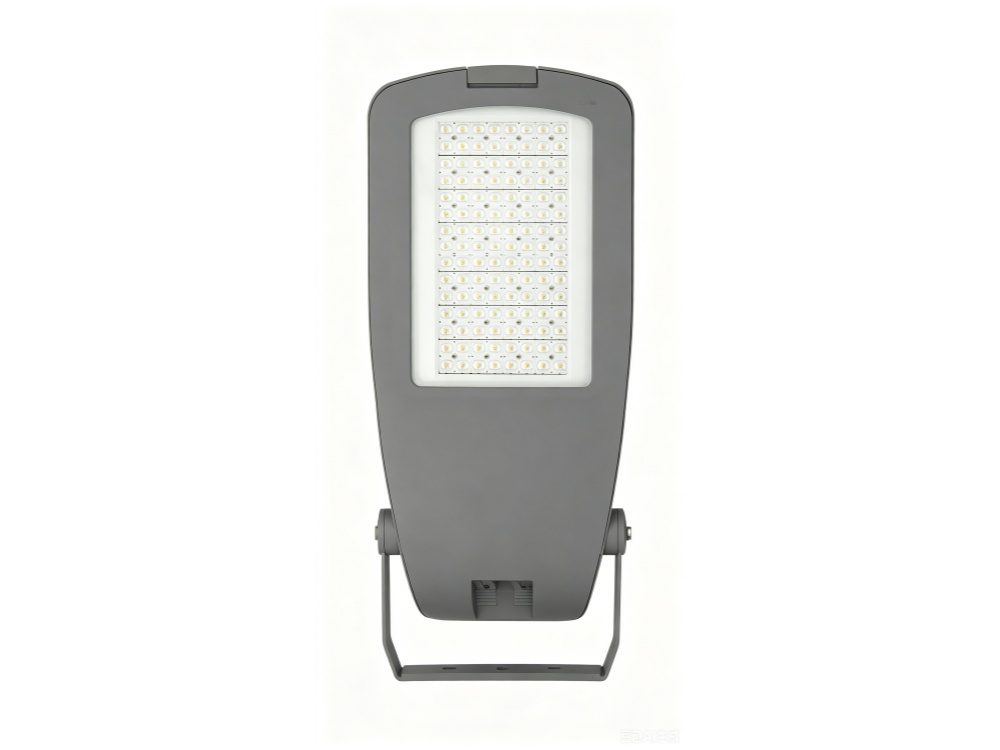
Luxific offers multiple optical distributions for applicable street lighting products, including Type I to Type V options. This allows the optical configuration to be considered according to the project rather than relying on one distribution for every road.
Use Controls When the Application Requires Them
Some commercial estates, campuses, and public infrastructure projects have changing traffic patterns or operating schedules. Dimming and control systems can provide another way to manage light levels when they are appropriate for the project.
- Confirm the required dimming schedule.
- Check driver and control compatibility.
- Define operating levels for different periods.
- Confirm whether smart lighting integration is required.
Luxific supports control options such as DALI, 0 to 10 V, Astro Dim, and Step Dim on applicable configurations, allowing control requirements to be considered during product selection.
2. Dark Spots and Poor Uniformity: Check the Whole Road, Not One Point
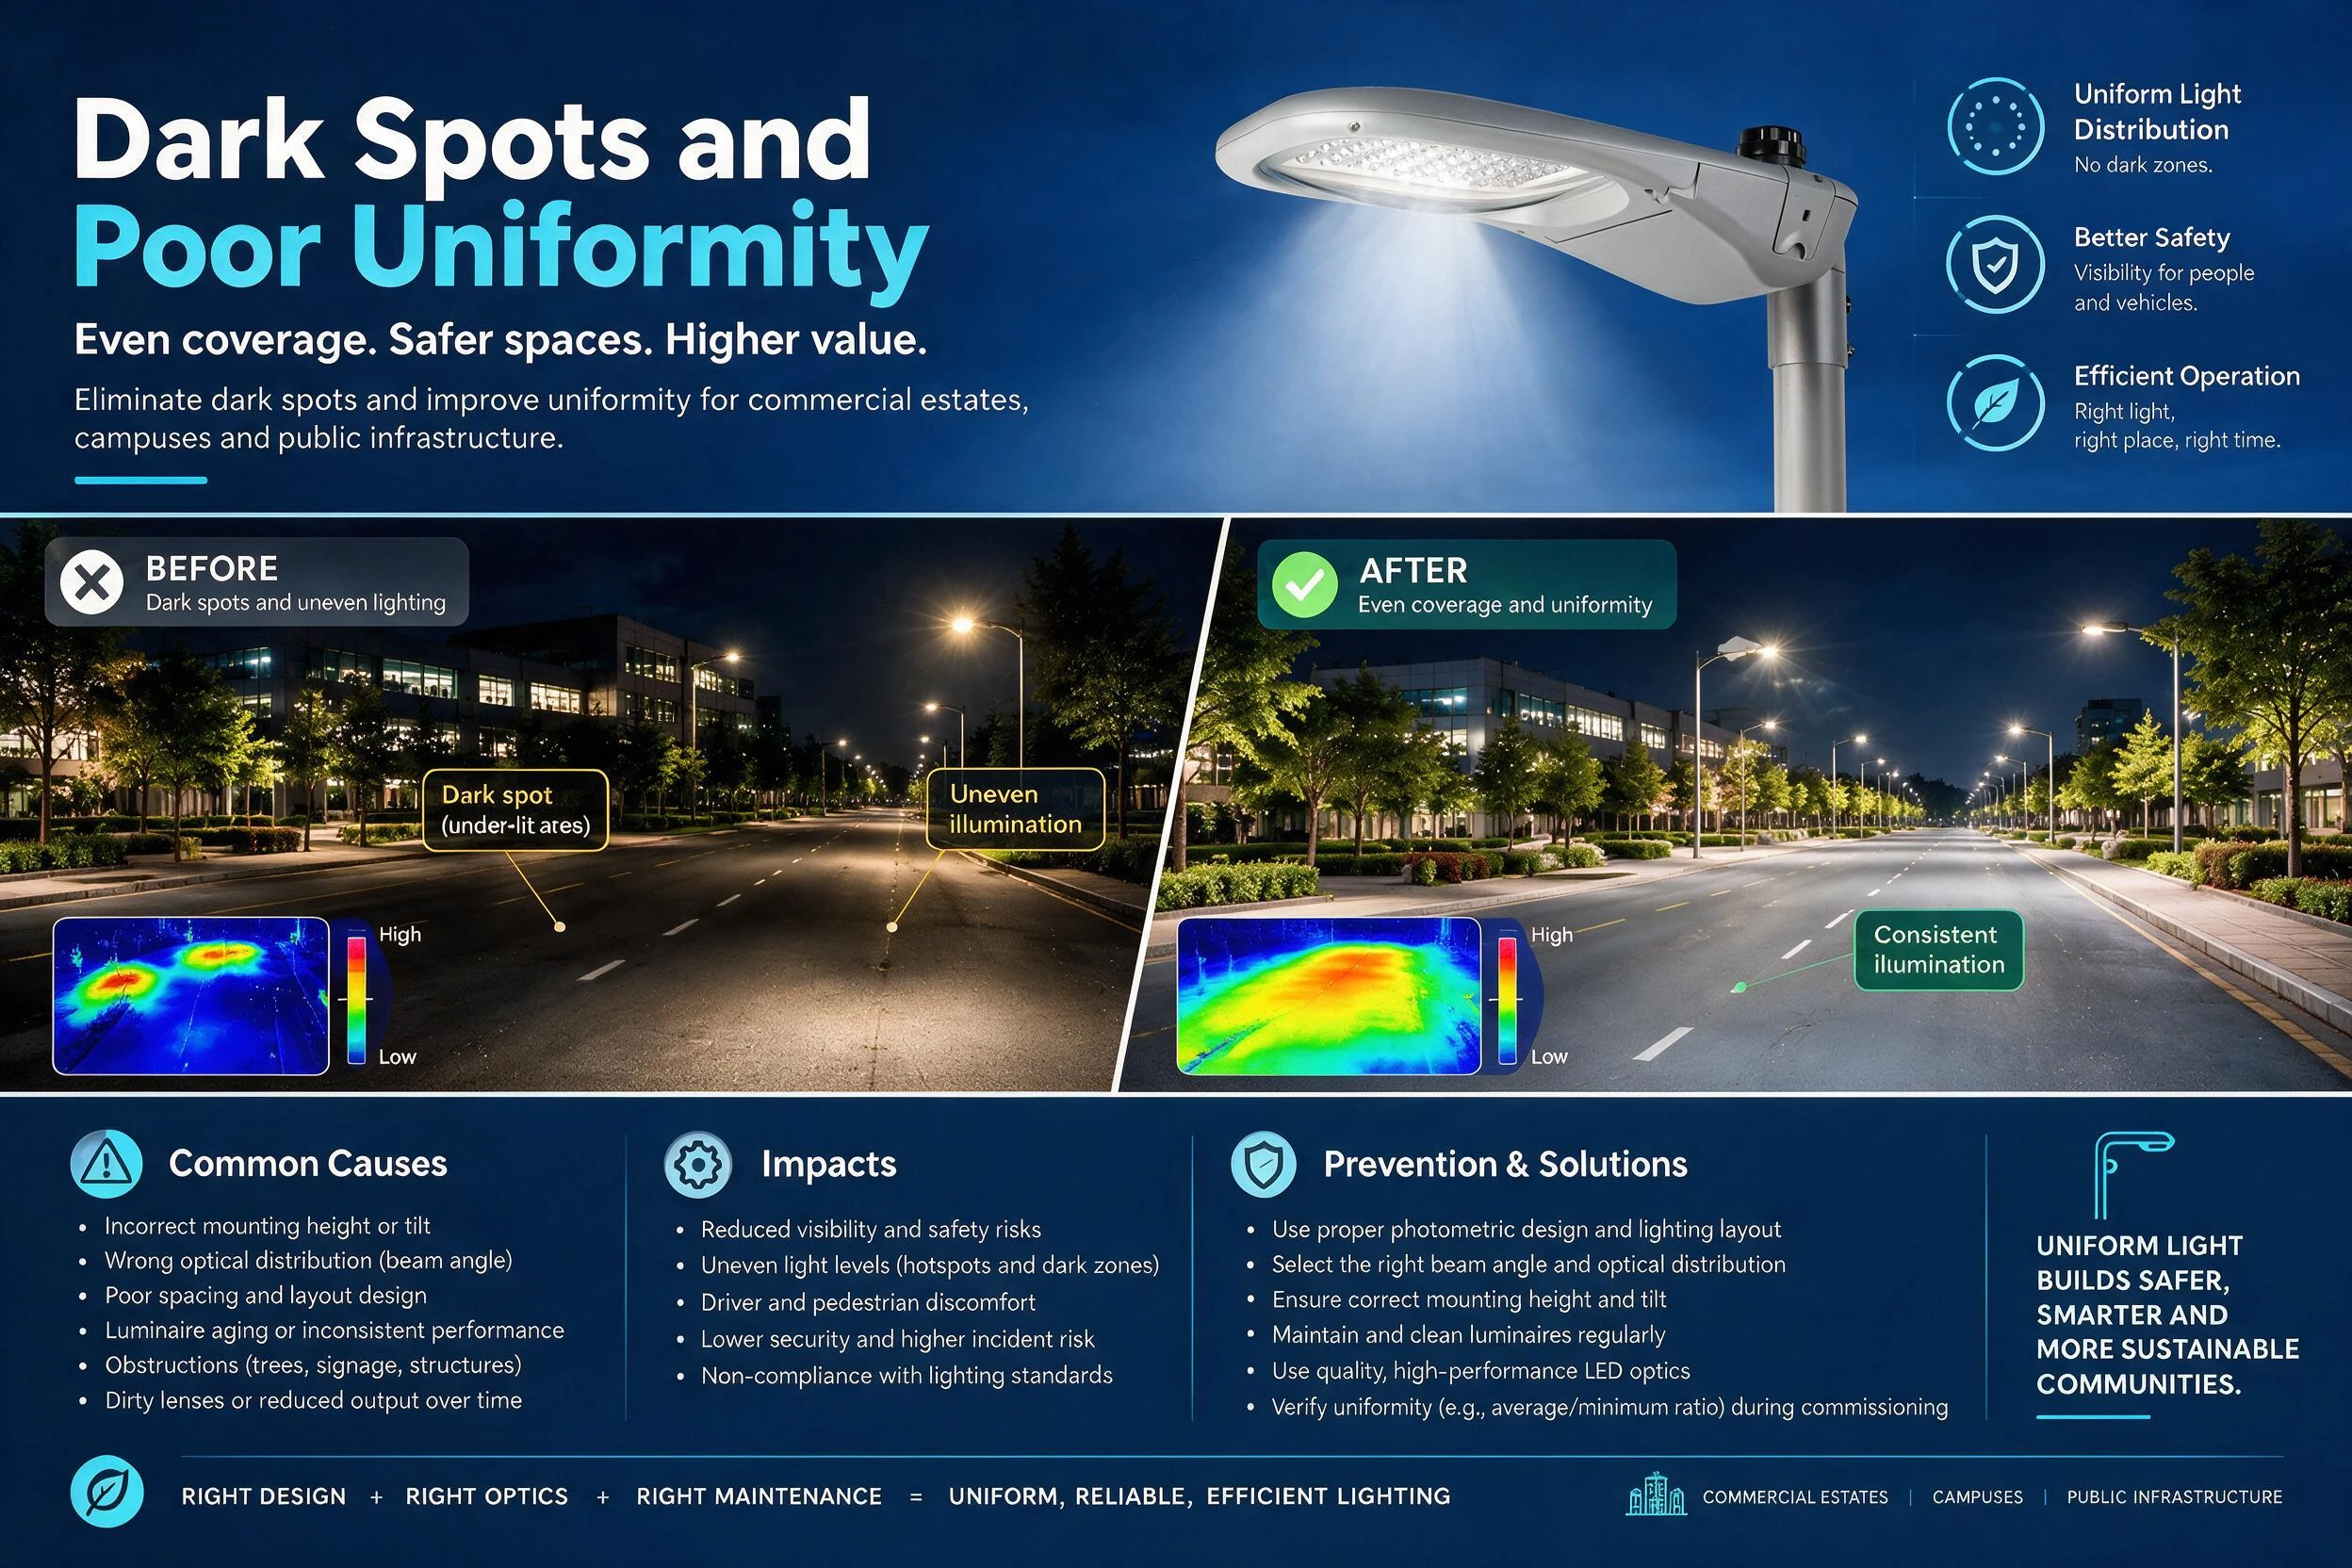
A street light can produce sufficient total lumens and still create an unsatisfactory road environment. Dark areas often appear when the optical distribution does not match pole spacing, mounting height, or road width.
Typical Causes of Poor Uniformity
- Pole spacing is too wide for the selected optic
- Mounting height does not match the optical design
- Road width is greater than the intended coverage
- Fixture orientation is incorrect
- Output is selected without a complete photometric calculation
- Existing pole locations are reused without checking the new LED distribution
Use Photometric Design Before Production
- Collect actual road dimensions.
- Record pole height and spacing.
- Identify the installation arrangement.
- Define illuminance and uniformity requirements.
- Select candidate LED fixtures and optics.
- Run the lighting calculation.
- Adjust output, optics, mounting angle, or spacing when necessary.
| Potential problem | Likely design factor | Prevention method |
|---|---|---|
| Dark areas between poles | Spacing or optical distribution | Photometric calculation |
| Excessive brightness | Output or mounting angle | Review target illuminance |
| Poor road coverage | Road width or mounting height | Match optics to geometry |
| Light outside the road | Unsuitable beam distribution | Review optical control |
| Uneven appearance | Pole arrangement or optic | Validate uniformity |
Validate IES or LDT Data
Photometric files provide a practical basis for evaluating a proposed luminaire before installation. They allow the design team to model the actual road, pole arrangement, fixture output, and optical distribution instead of making decisions from catalogue lumen values alone.
For EPC contractors, municipalities, lighting integrators, and project developers, this can reduce the risk of discovering poor coverage only after installation.
3. Surge, Water Ingress, and Overheating: Protect the Fixture From the Environment
Outdoor LED street lights operate under changing environmental and electrical conditions. Surge events, rain, humidity, dust, and high ambient temperatures can place additional demands on the luminaire and its electrical components.
Surge Protection
Surge protection should be specified according to the electrical environment and project requirements. Areas with significant lightning exposure or long outdoor cable runs may require particular attention to surge protection.
- Confirm the required surge protection level.
- Review driver protection features.
- Consider the local lightning environment.
- Check whether additional system protection is required.
- Include the requirement in the technical specification.
Luxific street light configurations include surge protection options, with applicable models documented with protection levels such as 10 kV and 10 kA. The correct configuration should be confirmed for each project.
Water and Dust Protection
Water ingress can damage electrical components and shorten the useful operating period of outdoor equipment. The specified IP rating should therefore correspond with the installation environment and project requirement.
- Review rainfall exposure.
- Consider humidity and condensation.
- Consider dust and industrial contamination.
- Check sealing and enclosure construction.
- Verify the IP rating of the proposed luminaire.
Luxific street light models such as PIECES and VEGA are documented with IP66 protection for applicable configurations. Buyers should verify the exact rating of the selected model before procurement.
Prevent Overheating
Thermal management is another important part of LED reliability. Heat generated during operation needs to be effectively transferred away from the LED and driver components.
Thermal Review Checklist
- Housing material
- Heat dissipation structure
- Driver operating temperature
- Maximum ambient temperature
- Installation ventilation
- Solar exposure and local climate
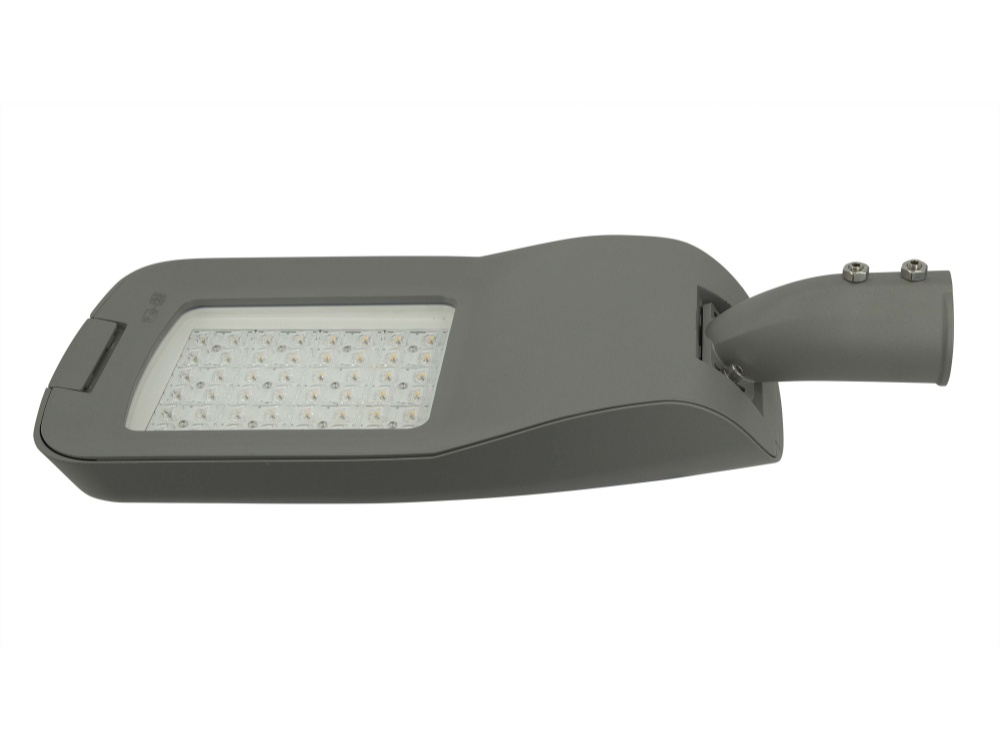
Luxific uses die cast aluminum housing and integrated cooling structures on applicable street light models. Its documented configurations also cover demanding ambient temperature conditions. Actual suitability should always be assessed against the installation environment.
4. How Specifications Prevent Failures Before Production
Many field problems can be reduced when the specification is complete before manufacturing begins. A professional Supplier should be able to review the technical requirements with the buyer rather than treating the purchase as a simple catalogue transaction.
Build a Complete Technical Specification
- Application and road classification
- Required illuminance
- Uniformity target
- Fixture lumen output
- LED efficacy
- Optical distribution
- Pole height and spacing
- Mounting dimensions
- Driver specification
- Surge protection
- IP and IK protection
- Operating temperature
- Dimming and control requirements
- Required market certifications
- Photometric files
- Warranty conditions
Use Samples to Identify Practical Problems
For large projects, sample testing can provide valuable information before full production. This is particularly useful when existing poles, unusual mounting structures, demanding climates, or strict tender specifications are involved.
- Confirm the preliminary product specification.
- Review technical documents.
- Test a representative sample when appropriate.
- Check mounting compatibility.
- Evaluate lighting performance.
- Confirm control operation.
- Approve the final configuration.
- Release the larger production order.
5. Commissioning: Make Sure the Installed System Matches the Design
Even a correctly specified fixture can perform differently if installation conditions do not match the approved design. Commissioning should therefore be treated as part of the project rather than an optional final step.
Commissioning Checklist
- Confirm fixture orientation
- Check mounting angle
- Verify pole spacing
- Confirm control settings
- Check electrical connections
- Inspect fixture installation
- Review lighting levels where required
- Document any field changes
If the actual mounting angle or pole location differs from the approved design, the lighting calculation may no longer represent the installed system. Any significant field change should therefore be reviewed before final acceptance.
6. Choose a Manufacturer That Can Prevent Problems at the Design Stage
Failure prevention begins before the product reaches the project site. A capable Manufacturer should provide technical communication, documentation, quality control, production coordination, and project support throughout the procurement process.
Questions for Your Supplier
- Can the Supplier provide appropriate photometric data?
- Can the product configuration match the project requirements?
- Can mounting dimensions be customized when necessary?
- Can the required control system be supported?
- Can relevant certification and testing documents be provided?
- Can samples be produced for evaluation?
- Can production quantities match the project schedule?
- Can technical questions be handled efficiently before production?
Luxific operates as an outdoor lighting Manufacturer supporting project focused solutions. Its OEM and ODM capabilities allow product dimensions, materials, colors, branding, packaging, prototyping, and other project requirements to be considered where appropriate.
For a Wholesaler, contractor, or infrastructure buyer, this flexibility can be useful when standard products do not fully match local installation conditions or tender requirements.
7. Failure Prevention Decision Matrix
| Failure risk | Prevention focus | Buyer action |
|---|---|---|
| Glare | Optics and mounting angle | Validate light distribution |
| Dark spots | Pole spacing and output | Run photometric calculations |
| Water ingress | Enclosure protection | Verify applicable IP rating |
| Surge damage | Electrical protection | Specify suitable surge protection |
| Overheating | Thermal design | Check climate and heat management |
| Installation problems | Mounting compatibility | Measure existing poles and brackets |
| Approval delays | Documentation | Review certifications and testing reports |
| Field performance issues | Commissioning | Confirm installation against approved design |
Conclusion: Prevent Failures With the Right Project Data
Send Luxific your road dimensions, pole height, target illuminance, quantity, required market certifications, and delivery schedule. Our team can support product selection, photometric review, specification confirmation, customization, and quotation.