Introduction:
Installing garden lights enhances your garden’s visual appeal. This can also add a touch of elegance and functionality to your outdoor space. There is a diverse array of garden lights you can choose from. They are from LED path lights, flood lights, and spotlights to solar-powered lights. These garden lights serve specific purposes and create different atmospheres in your garden. Before you conduct a garden lighting installation, it is best to know how different garden lights function. Select the type that suits your preferences. You should understand the building codes and regulations governing outdoor garden lights. This article will guide you on the steps involved in garden light installation.
Step-by-Step Guide on Installing Garden Lights
Step 1: Gather your materials
Before installing garden lights, gather the materials you’ll need for the process. These materials include:
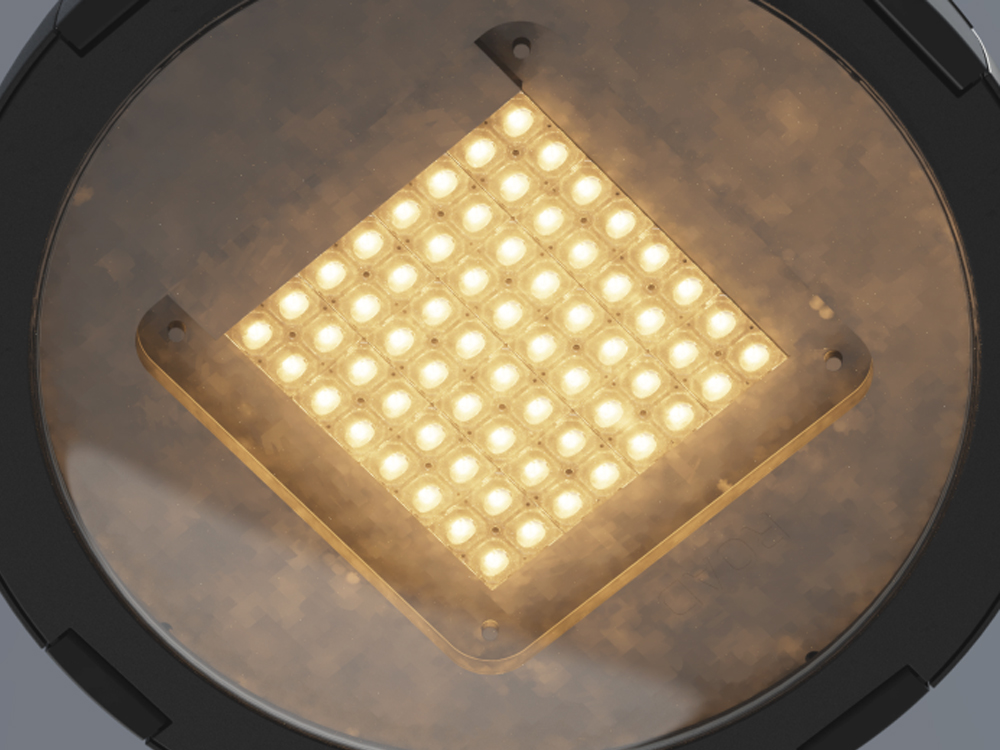
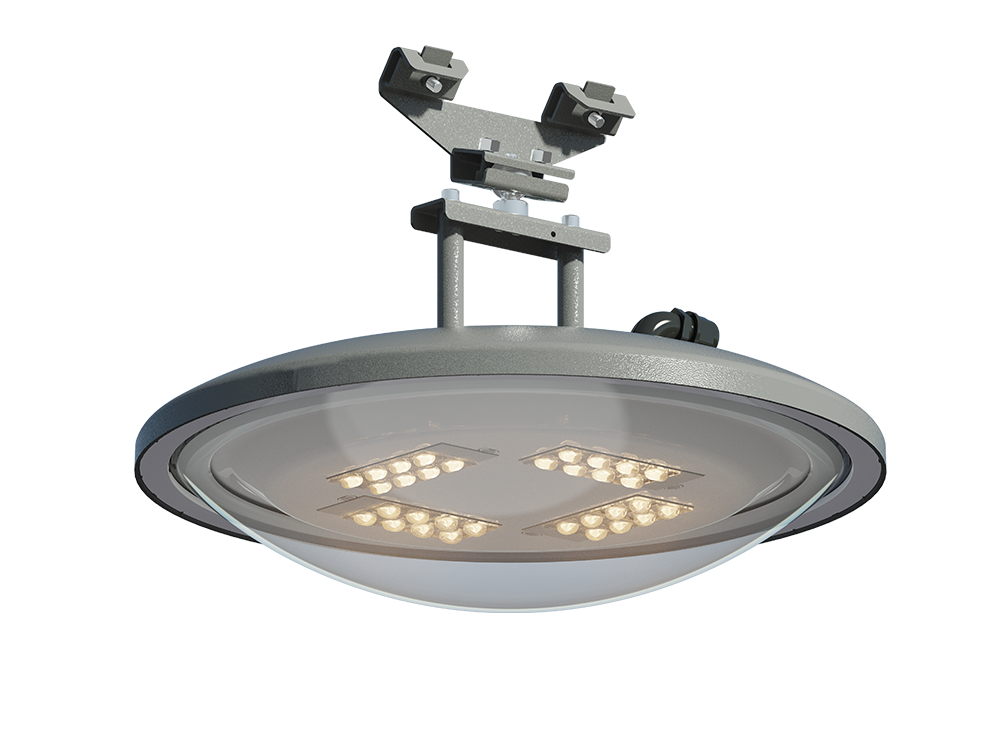
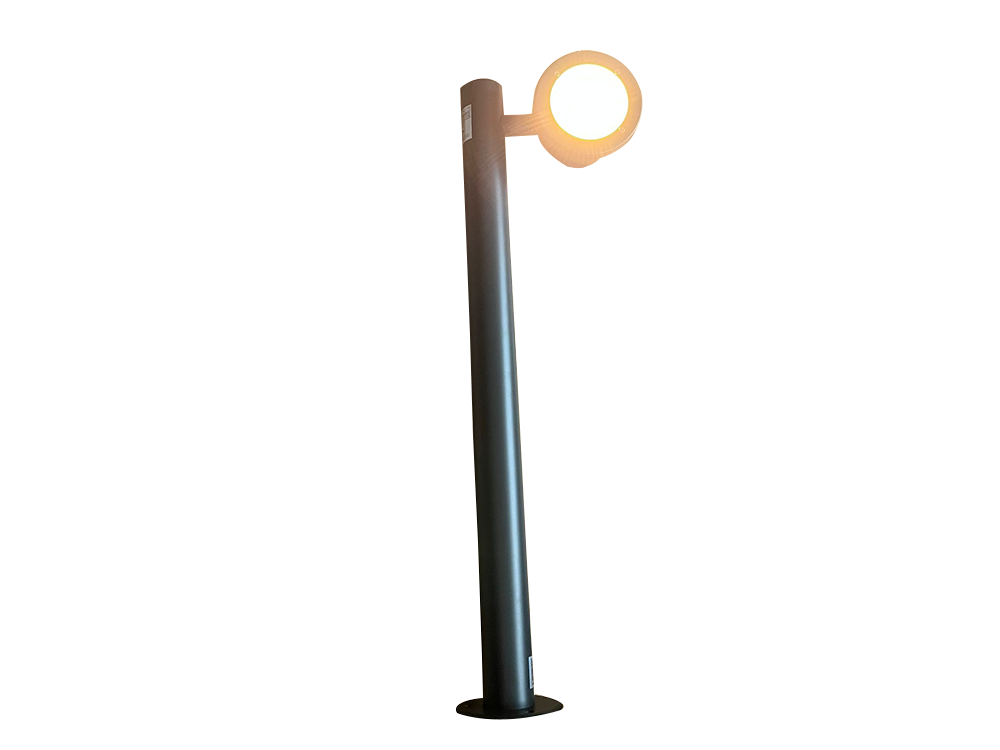
- garden lights
- outdoor electrical cables
- a transformer for low-voltage systems
- a screwdriver
- a shovel
- a wire cutter
- waterproof wire nuts
Step 2: Plan the lighting layout
Learning how to install garden lights involves properly planning the layout of your lighting. Examine your garden and determine the best places for your garden lights. Suitable places include pathways, plants, and any specific areas you want to showcase.
Step 3: Choose the appropriate power source

After choosing your lighting layout, the next thing to do is select the appropriate power source based on your chosen garden light. If you’re using a solar-powered garden light, place it in an area that receives enough sunlight during the day. Ensure you avoid shades of all kinds for these types of lights.
You’ll need a transformer that matches their total wattage for low-voltage lights. The total wattage refers to the sum of the ratings of all the lights you install. This compatibility ensures the transformer can supply enough power for all the lights.
Using low-voltage garden lights offers several advantages over traditional lighting systems. They are energy-efficient and easy to install. They provide various DIY installation options without needing a professional electrician. This ensures a cost-effective solution and simplifies the garden light installation.
Step 4: Install the transformer
Once you select your transformer, install it in an appropriate location. The best places to mount your transformer are areas that are protected from the elements, such as a wall or a sturdy post.
Your chosen location should be near the power source. Protect the transformer from rain, snow, and direct sunlight to ensure its longevity and performance. To mount the transformer, follow the manufacturers’ instructions and use sturdy screws to hold it in place. The goal is to avoid any unnecessary movement that could affect its function. After that, connect the transformer to the power source using a waterproof electrical cable. Follow the manufacturer’s guidelines and ensure enough slack for easy connections. The slack allows you to adjust during the connection process and limits strain on the cables.
Step 5: Layout and bury the cables

The next step for garden lighting installation involves positioning cable along the path. Leave enough slack at every light location. After doing this, use a shovel to dig a shallow trench along the cable route. Ensure that the trench is a few inches deep to protect the cable and that it follows the path. Once the cable is in position, bury it with soil and leave the garden lights exposed above the ground. This dual approach to installing lights guarantees the visual appeal of lighting arrangement. It can also protect the cable from potential damage.
Step 6: Connect the lights
If you choose solar-powered garden lights, you should place them in their designated spots. And allow them to receive enough sunlight during the day. Many solar lights come with stakes for easy insertion into the ground. You have to position them well. The solar panels can receive direct sunlight during the day.
For low-voltage garden lights, select electrical connections suitable for all-weather use. After that, use a wire stripper to remove the insulation from the cable wires at the places where you’ll connect the lights. Cable and garden light wires usually have color codes that indicate positive and negative connections. You should match the corresponding colors between the light and cable wires to each other. Once you match the wires, use waterproof nuts to secure your connections.
Remember to follow the specific instructions provided by the maker of your garden lights. These guidelines ensure you follow any unique considerations or variations in the wiring process.
Step 7: Test the lights
Before you bury the cable completely, test the entire lighting system. Check if your connections are secure and the lights work perfectly.
While testing your lights, inspect each garden light and the connections made earlier. Ensure the wires are appropriately stripped, matched, and tightened with waterproof wire nuts.
You should also check for any signs of damage on the garden lights and ensure that they function correctly.
Step 8: Secure the cables
After you confirm the lights are working well, bury the cable completely by covering it with soil. This will protect your cable from the elements and eliminate the risk of tripping or damage. It also helps with your garden’s visual appeal by giving it a clean and tidy appearance. This ensures the focus remains on the illuminated features of your garden rather than the wiring.
Step 9: Test the garden lights
With everything in place, it is time to turn on the lights and enjoy the beautiful atmosphere. Your new lights will enhance the appeal of your garden and make it more welcoming. If you are not sure about the garden lighting installation, we advise you to consult a professional electrician.
Conclusion:
Installing garden lights adds a captivating feel to your outdoor space. These lights create a welcoming atmosphere and enhance your garden’s visual allure. Regardless of the type of garden light you use, ensure that you carefully plan and execute the installation process.
The overall cost to install garden lights depends on several factors. These include the type, number, quality, and installation method. Therefore, if you’re wondering about the cost of how much to install garden lights, consider these factors. Bear in mind that garden lights are a long-term investment.