Introduction:
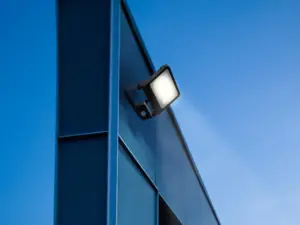
Outdoor LED (light-emitting diodes) flood lights refer to the external illumination usually mounted on poles and buildings to provide intense brightness to different outdoor areas. The bright beams of light that these fixtures generate serve to enhance security by reducing shadows, catering to sports venues, illuminating walls of buildings, and aiding in traffic visibility.
Many people will agree that outdoor LED floodlights offer more benefits than drawbacks as a lighting solution. This is because outdoor LED flood lights’ three most recognized pros include energy efficiency, longevity, and quality lighting performance. All of which are partly or absent in other lighting solutions.
This article will guide LED flood light repair, highlighting the benefits of these lights and providing elaborate steps for “how to repair LED flood lights.”
Read on to discover more.
Benefits of Outdoor LED Flood Lights
1. Energy Efficiency
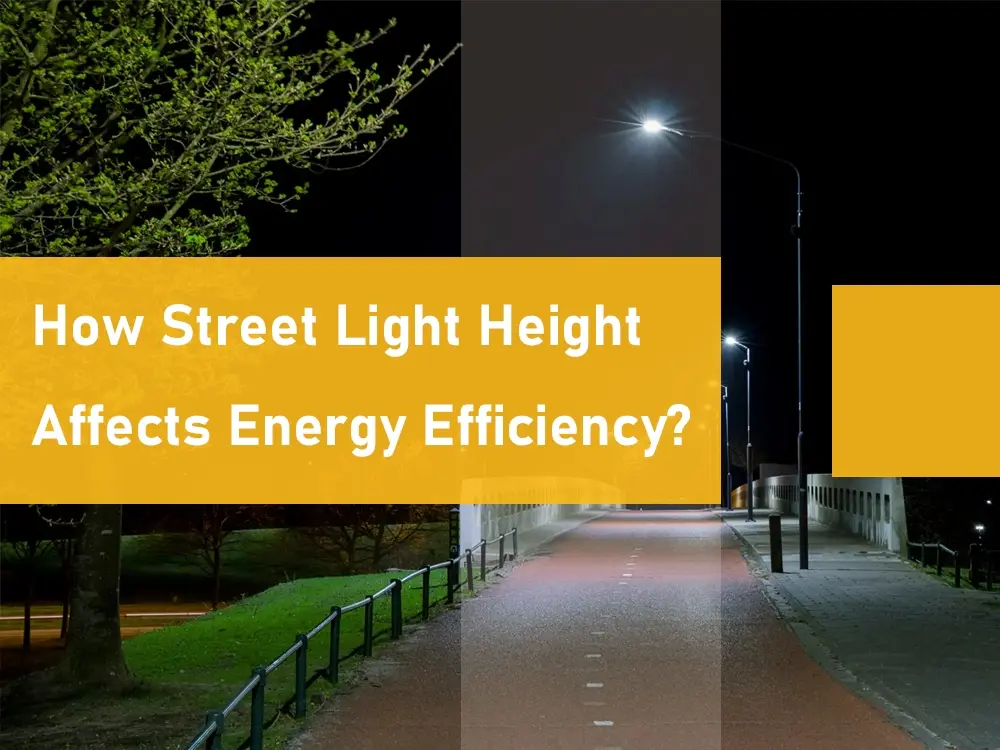
LED floodlights are the best solution for people who want to brighten their environment while saving energy. These lights consume less power than conventional lighting systems and, as a result, contribute to lower electric bills and carbon footprints.
2. Longevity
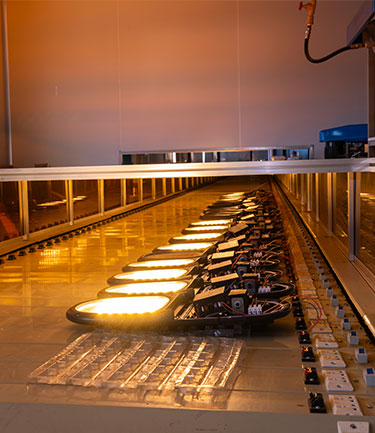
LED technology guarantees a longer lifespan than other types of bulbs. They are more resistant to vibrations and environmental factors, contributing to low maintenance expenses in the long run. This is due to the method by which LEDs generate light. Their mechanism of action makes it so that after running out of a fuel source, the LED-generated light output deteriorates at a very gradual pace over time.
3. Quality Light Performance
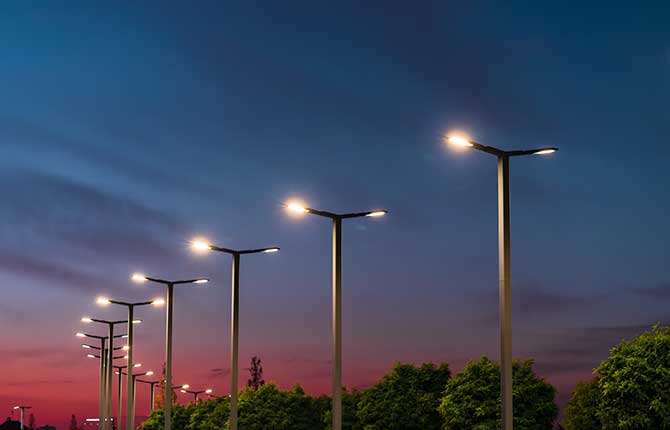
Outdoor LED floodlights offer evenly dispersed, high-intensity, and multidirectional light that ensures better visibility and coverage of outdoor areas. When comparing LEDs to HID fixtures, LED lights generate light that remains even across a given surface regardless of the distance from the pole. In contrast, HID lamps produce the brightest light directly underneath the pole and are weaker as the distance from the pole widens.
Additionally, LED flood lights offer superior color rendering and different color temperatures to suit various moods.
How to Repair LED Flood Light in 9 Easy Steps
Before you proceed with your LED flood light repair, ensure that there is truly an issue with your fixture. Check the power supply to determine if the floodlight is receiving enough power. Also, inspect the LED bulb for loose connections and adjust the settings of your motion sensor if your light has one. Occasionally, the issue with floodlights could be as simple as a faulty light switch. Therefore, before you completely change your outdoor LED flood lights, correctly identify the cause of the malfunction.
1. Turn off the power
To avoid electrical mishaps, it is crucial to turn off the power supply of the flood light. Switch off the power supply from the circuit breaker or main electrical panel to ensure your safety.
2. Inspect and clean
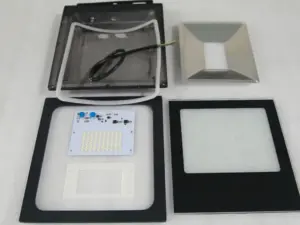
After that, examine the fixture for any visible damage, signs of wear, or loose connections. You can use a voltage tester to ensure the connections are secure and rule out any issues with the electrical supply. To clean the fixture and lens, use a mild detergent and soft cloth to remove all dirt and debris affecting light output.
3. Remove the bulbs
Before you unscrew your bulbs, make sure it is truly damaged. You can test the functionality of your floodlight by inserting it into another working fixture or using a voltage tester to check its continuity. If the LED bulb is damaged, replace it with an alternate bulb with the same size and wattage. While removing the bulb, be careful with your handling. Some light bulbs are easy to twist out; however, others may have clips or screws holding them in place. Be gentle as you use your screwdriver to unscrew the fixture and avoid damage.
4. Install the replacement
Once you remove the previous bulb, you can proceed with installing the replacement. Insert the new LED bulb into the socket and make sure it is perfectly aligned and secure. Always remember that the instruction manual is there for you to utilize. Ensure that you follow the instructions provided by the manufacturer regarding installation and handling.
5. Check your wirings and connections
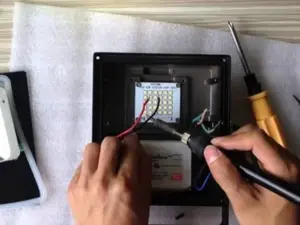
You cannot claim to have learned how to repair LED flood lights without understanding the need for caution when handling electrical components. Once you finish installing the new bulb, check the wiring connections within the fixture for poor insulation, burn marks, or loose wires. If you find anything of the sort, reconnect the wires and utilize electrical tape where necessary.
6. Inspect Control Features
If your floodlight has additional features like photocells or motion sensors, verify if they work correctly. Make sure you determine their state and decide whether you will adjust the settings or replace the sensors completely.
7. Test the new Floodlight
After securing your installation, restore power to the floodlight via the electric panel and test out your new light bulb. Observe the light it generates for inconsistencies and dimness. Your new bulb should carry on working perfectly and provide an even brightness across your outdoor space.
8. Secure the Fixtures and Casings
Once you’ve concluded that the new bulb is functioning correctly, reattach all the casings or covers that you removed during the process.
9. Expert help
Electrical work in outdoor settings requires strict observance of safety guidelines and regulations. If you find resolving the problem with your floodlights difficult, it will be best to contact a trained professional for help. These individuals are more familiar with safety protocols and will ensure that your repairs end safely without accidents.
However, if you still want to know how to repair LED flood lights, the steps above will guide you throughout the process. Our detailed procedures will guarantee your safety and the efficiency of your flood lights.