Why Poor Street Light Retrofit Planning Creates Hidden Project Risk
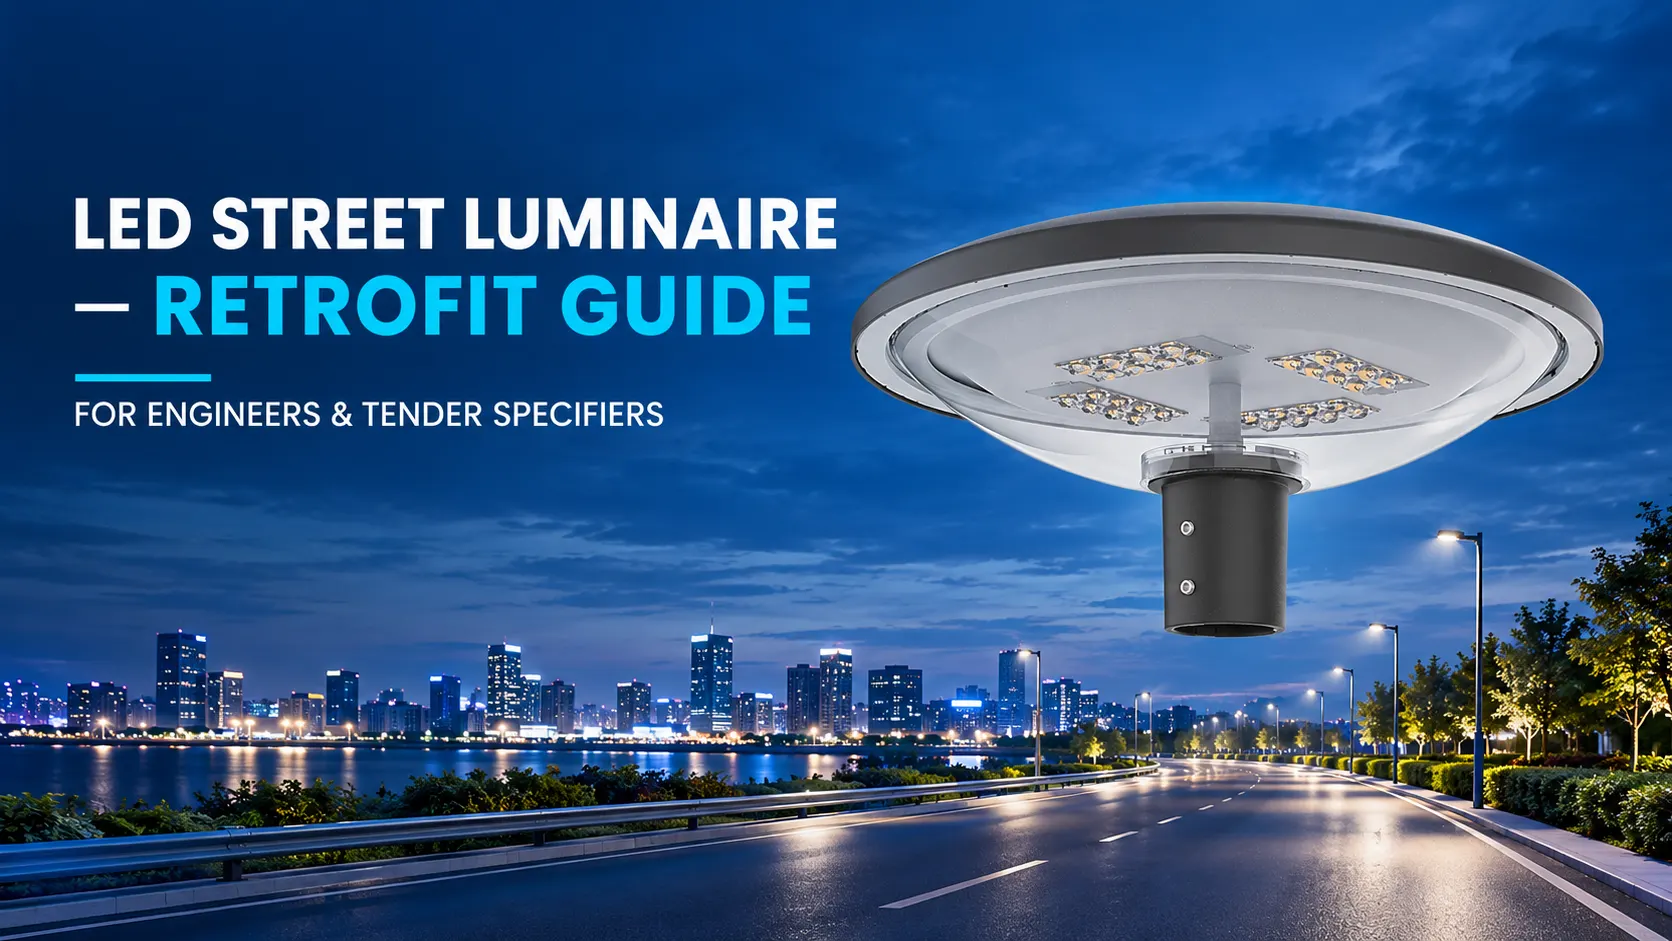
Replacing HPS or MH street lights with LED luminaires looks simple until existing poles, brackets, electrical supplies, and road geometry are examined. A direct watt-for-watt replacement can create poor uniformity, incorrect beam coverage, or unexpected installation costs. If the retrofit is specified without auditing the existing system, projects may require bracket changes, rewiring, or redesign after tender award. For engineers and tender specifiers, the safer approach is to treat retrofit as a complete lighting upgrade, validated by photometrics, compatibility checks, energy analysis, and lifecycle economics.
A successful LED street light retrofit starts with an audit of existing poles and electrical supply, then selects optics by photometric performance rather than old lamp wattage. Luxific can support project-specific configurations covering optical distribution, mounting compatibility, controls, and energy-focused LED upgrades.
1. Audit Existing Poles and Electrical Supply Before Replacement
The first retrofit question is not which LED luminaire to buy. It is whether the existing infrastructure can support the proposed replacement. Engineers should inspect the pole, bracket, mounting interface, cable condition, electrical supply, and installation environment before finalizing the luminaire specification.
Existing Pole Audit Checklist
- Pole height and condition
- Pole spacing and roadway arrangement
- Bracket type, length, diameter, and mounting angle
- Luminaire mounting interface
- Existing tilt and outreach position
- Corrosion or structural deterioration
- Road width and lane configuration
- Existing electrical cabling and connection method
- Control system and photocell arrangement
- Available maintenance access
Electrical Compatibility
LED retrofits should also be checked against the existing electrical infrastructure. Engineers should confirm input voltage, frequency, circuit configuration, protection, grounding, control equipment, and any requirements associated with the existing HPS or MH installation.
- Record the existing luminaire model and lamp technology.
- Measure pole height, spacing, bracket dimensions, and mounting orientation.
- Document the existing electrical supply and controls.
- Inspect pole and bracket condition.
- Identify components that can remain and components that require replacement.
- Use the audit results as inputs for the new LED lighting calculation.
| Existing Condition | Retrofit Check | Potential Design Action |
|---|---|---|
| Existing pole is structurally suitable | Confirm mounting interface | Use compatible LED luminaire and bracket |
| Bracket dimensions differ | Check mounting diameter and reach | Specify adapter or replacement bracket |
| Old electrical controls remain | Check driver and control compatibility | Upgrade control components if required |
| Corroded or damaged pole system | Assess structural condition | Repair or replace infrastructure before retrofit |
2. Replace HPS or MH by Photometrics, Not Watts

The most common retrofit mistake is treating LED replacement as a simple wattage conversion. A 250W HPS or 400W MH luminaire should not automatically be replaced by an LED luminaire selected only because its power consumption appears lower. The correct replacement depends on actual road lighting performance.
Start With Lighting Performance
- Target average illuminance or luminance
- Minimum illuminance requirements
- Overall and longitudinal uniformity
- Road classification
- Road width and lane arrangement
- Pole height and spacing
- Required glare control
- Applicable local lighting standards
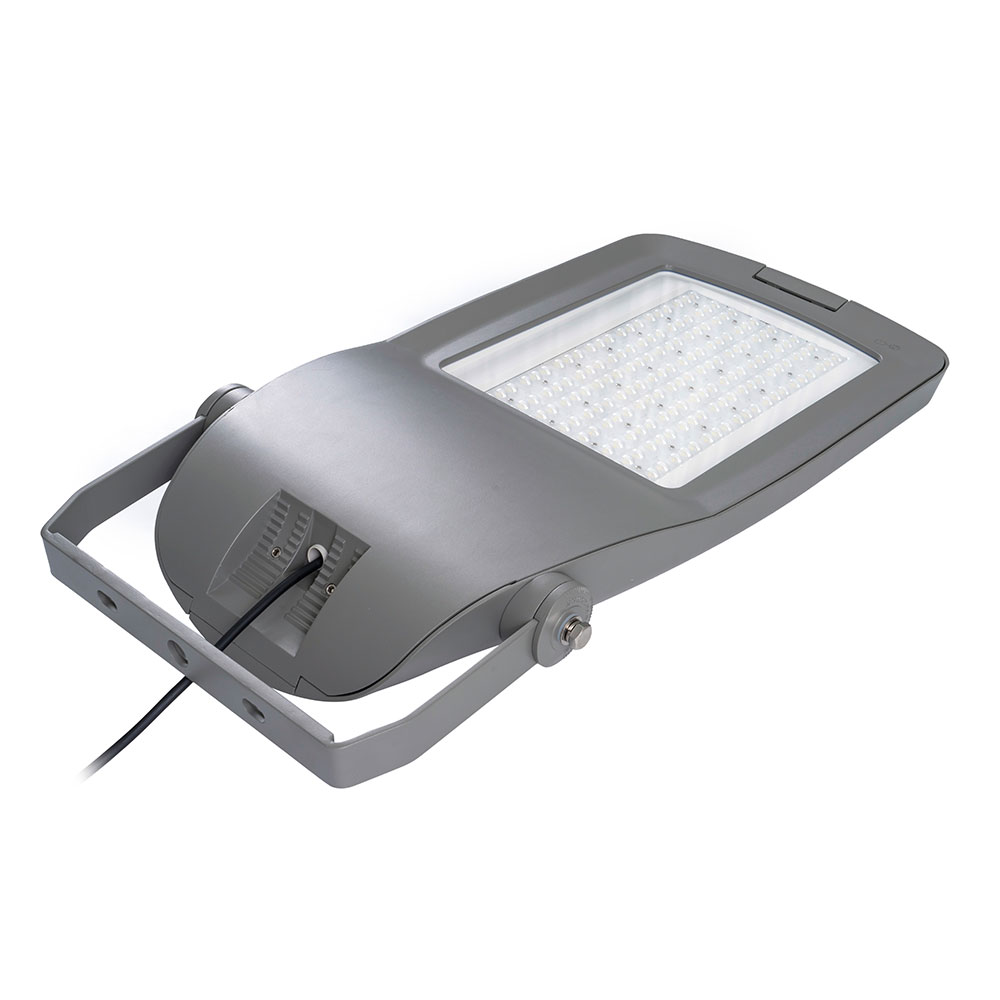
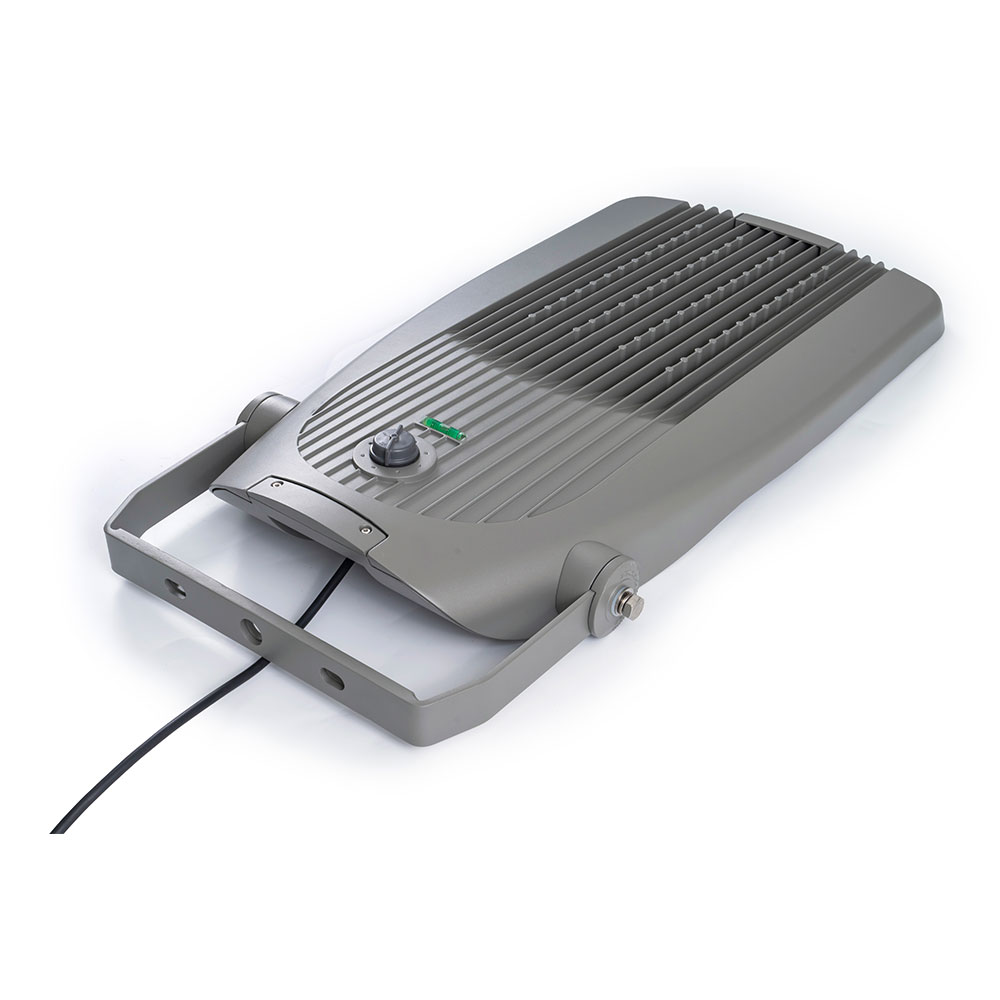
Luxific street lighting solutions include different optical distributions and configurations intended for project-specific road applications. The correct LED power should be determined after considering the optical system and actual installation geometry rather than copying the existing lamp wattage.
Use IES or LDT Data for the Retrofit Calculation
For tender evaluation, request the photometric file for the exact proposed configuration. The lighting designer can then model the existing pole arrangement with the new LED luminaire and compare the calculated results against project requirements.
- Document the existing lighting performance where data is available.
- Define the required new lighting criteria.
- Obtain the correct IES or LDT file.
- Model the existing pole height and spacing.
- Compare average and minimum values and uniformity.
- Adjust optical distribution, power, tilt, or spacing where necessary.
- Approve the configuration only after the required performance is demonstrated.
3. Check Bracket, Tilt and Optical Compatibility
A physically compatible luminaire is not necessarily photometrically compatible. Small changes in mounting position or tilt can alter where light reaches the road. Retrofit specifications should therefore connect mechanical mounting requirements with optical performance.
Bracket Compatibility
- Confirm mounting diameter and insertion depth.
- Check bracket length and outreach.
- Confirm the luminaire mounting direction.
- Verify allowable tilt adjustment.
- Check whether an adapter is required.
- Confirm the final luminaire position relative to the road.
Optical Compatibility
Luxific provides street luminaire configurations using different optical distributions, including Type I to Type V options on specified product families. This allows the retrofit design to consider road geometry rather than treating every existing HPS or MH installation as the same.
When to Recalculate the Optical Design
- The LED luminaire has a different mounting height.
- The bracket outreach changes.
- The LED optical distribution differs from the previous lamp distribution.
- Pole spacing is unusually large.
- Road width or lane arrangement has changed.
- The project introduces new glare or light-spill requirements.
The retrofit objective should be consistent road lighting performance, not simply physical replacement. Where existing infrastructure remains unchanged, a suitable optical configuration can help minimize unnecessary civil and installation work.
4. Verify Energy Savings, Maintenance and Payback

A retrofit business case should include more than the difference between old and new wattage. Engineers, municipalities, and infrastructure contractors should evaluate energy consumption, operating hours, maintenance requirements, component replacement, installation cost, and expected service conditions.
Lifecycle Cost Inputs
| Cost Factor | What to Compare |
|---|---|
| Energy | Existing system consumption versus proposed LED consumption |
| Maintenance | Access, labor, replacement frequency, and spare parts |
| Installation | Direct luminaire replacement versus bracket or pole modifications |
| Controls | Potential savings from dimming and scheduled operation |
| Project cost | Luminaire, accessories, installation, testing, and commissioning |
| Payback | Energy and maintenance savings relative to investment |
Calculate the Retrofit Business Case
- Calculate existing annual energy consumption.
- Estimate the proposed LED energy consumption.
- Include realistic operating hours and control schedules.
- Estimate annual maintenance and replacement costs.
- Add retrofit installation and infrastructure costs.
- Calculate annual operating savings.
- Compare investment with expected savings to estimate payback.
For public lighting projects, the lowest purchase price is not always the lowest lifetime cost. A reliable LED solution with appropriate thermal management, protection, controls, serviceability, and documentation can be commercially more attractive when future maintenance and operating costs are considered.
5. Specify the Retrofit Partner and Project Configuration
Retrofit projects often involve different procurement models. A municipality may purchase through a Supplier, an infrastructure contractor may source directly from a Manufacturer, and a Wholesaler may require standardized products for multiple projects. The specification should therefore define both technical compliance and commercial support requirements.
When Customizable, OEM and ODM Support Is Useful
Some retrofit programs require special mounting interfaces, optical configurations, branding, packaging, or control options. Luxific supports OEM and ODM projects and can provide project-oriented technical design, prototyping, quality control, and logistics support. Customizable configurations may be particularly useful when an existing pole network has non-standard mounting conditions.
Final Retrofit Tender Checklist
- Existing pole height and spacing documented
- Bracket and mounting interface verified
- Electrical supply and control system checked
- Road width and application defined
- Target illuminance or luminance established
- Uniformity requirements established
- LED power selected through photometric calculation
- IES or LDT file provided for the proposed configuration
- Optical distribution and tilt validated
- IP, IK, temperature, and corrosion requirements checked
- Energy and maintenance savings calculated
- Payback and lifecycle cost reviewed
- Required market certifications and delivery schedule confirmed
Submit Your Retrofit Data for Selection and Quotation
Send your road dimensions, pole height, target illuminance, quantity, required market certifications, and delivery time. Luxific can review the retrofit conditions and recommend a suitable LED street luminaire configuration for technical evaluation and quotation.