Introduction:
Streetlights are essential assets that enhance public safety, promote community welfare, and improve modern transportation and aesthetics. However, starting the project is one of the most complex parts of every task. How to install street lights? This article has compiled a detailed guide, handling another problematic aspect of completing a task and receiving proper guidance.
How To Install Street Lights- Street Light Installation Procedure
Street light installation is a valuable investment that takes care of several inconveniences in a particular area. Read on to discover the steps involved in the street light installation while keeping safety and efficiency in mind.
1. Evaluate the Level of Demand
Before proceeding with a street light installation project, you must evaluate the demand level in the target area. The chosen location for installation must be properly assessed to determine the current level of necessity for street lights and the current lighting levels.
If the location already has street lights, you should appraise their effectiveness (If they work properly). After observing, you can decide whether to replace the lights or install a few more.
Alternatively, if your target area is devoid of street lights, you can proceed with your plans after considering certain factors like vehicular flow, crime rate, budget constraints, and pedestrian traffic. Moreover, remember to check for any possible safety hazards that could affect the success of your project.
Installing these lights will play a massive role in maintaining order by preventing traffic accidents and criminal activities sheltered in the veil of darkness.
2. Get the Required Permits
Learning how to install street lights involves acknowledging the authorities that govern the activities of your target area. You should familiarize yourself with the local regulations and obtain the proper permits before installing the street lights.
Usually, depending on the area of interest, you can acquire the necessary permits from a utility company or your local government. In these permits, you should find a list of the technical requirements for the street lights, e.g., types of bulbs and lamps that suit the area.
3. Select the Appropriate Equipment
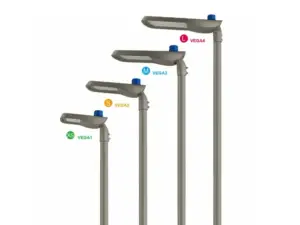
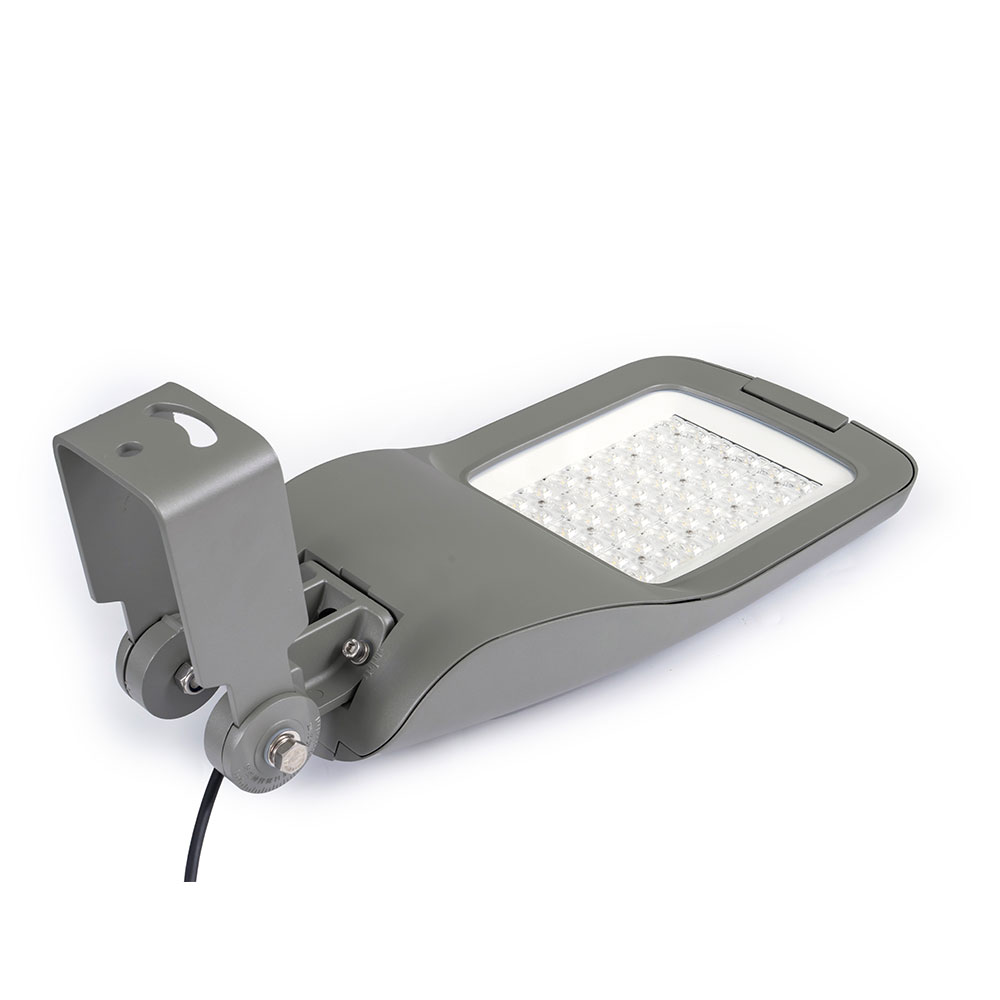
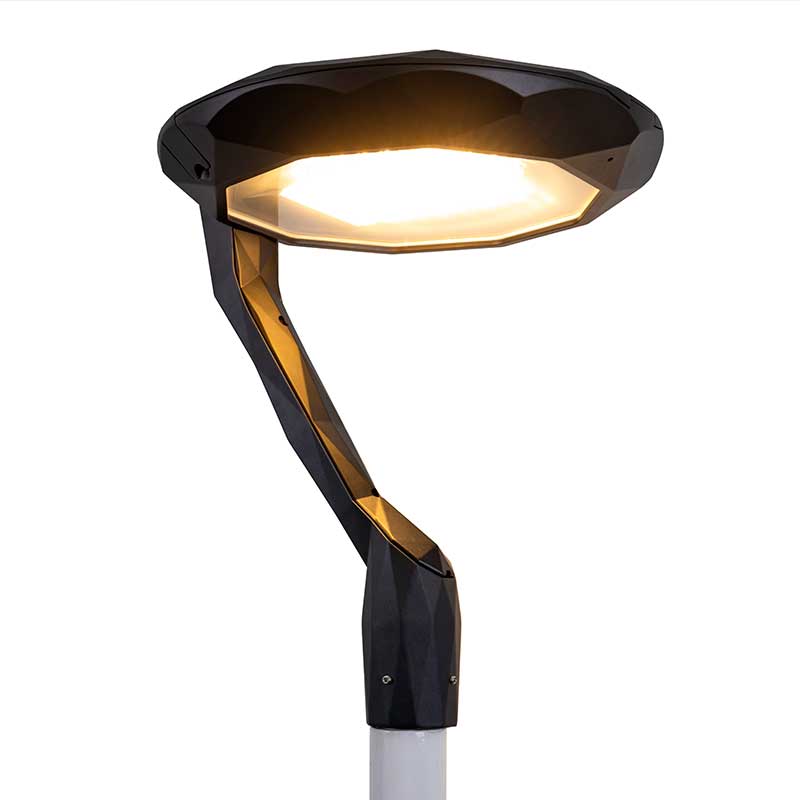
After acquiring your permit, you must select the appropriate equipment for the installation process. This equipment should include the types of bulbs, poles, or lamps to be used. For instance, decide if you prefer LED, halogen, or solar street lights.
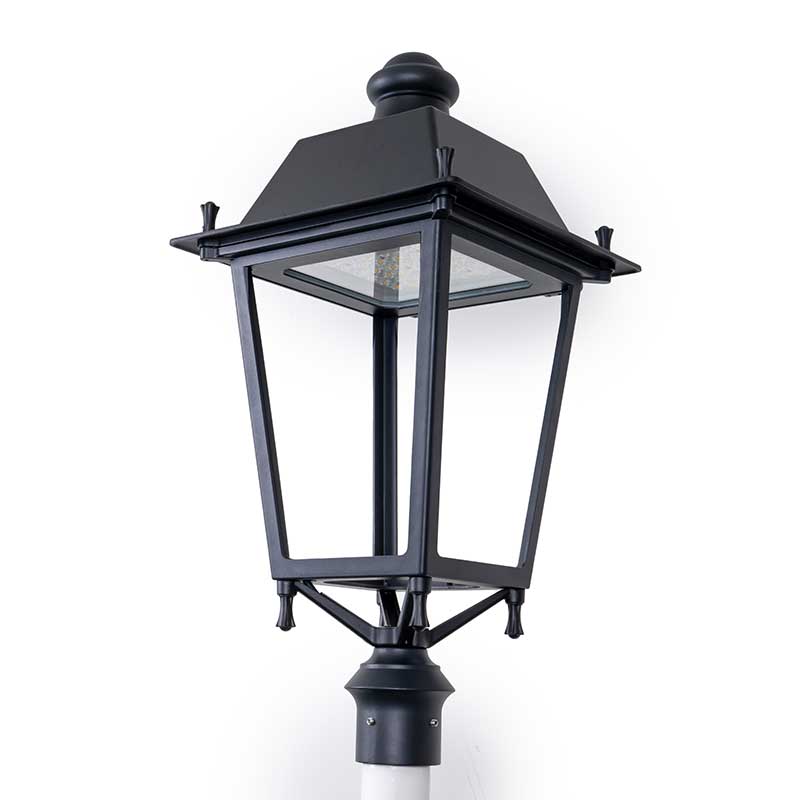
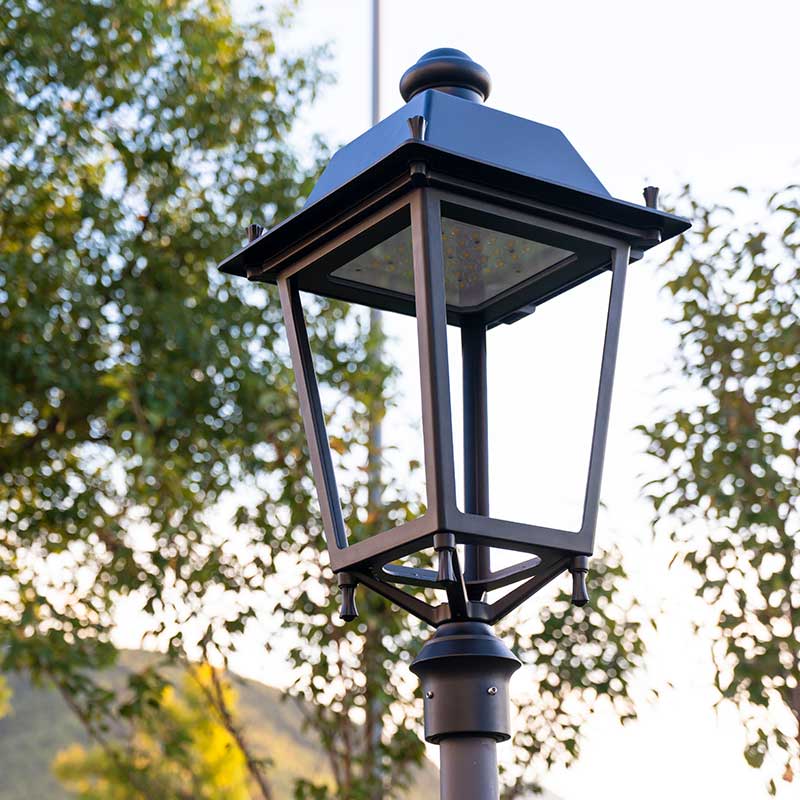
Solar-powered streetlights are especially recommended in the lighting industry for remote or off-grid areas because of their ability to harness solar energy for later use. On the other hand, LED street lights are preferred for their long-lasting and energy-efficient properties. A tip to remember is that, depending on the area, whether residential or a busy road, street lights must be chosen to suit the scene. A brighter color temperature is ideal for busy roads, while a warm and natural hue is best for residential spaces since they are easier on the eyes.
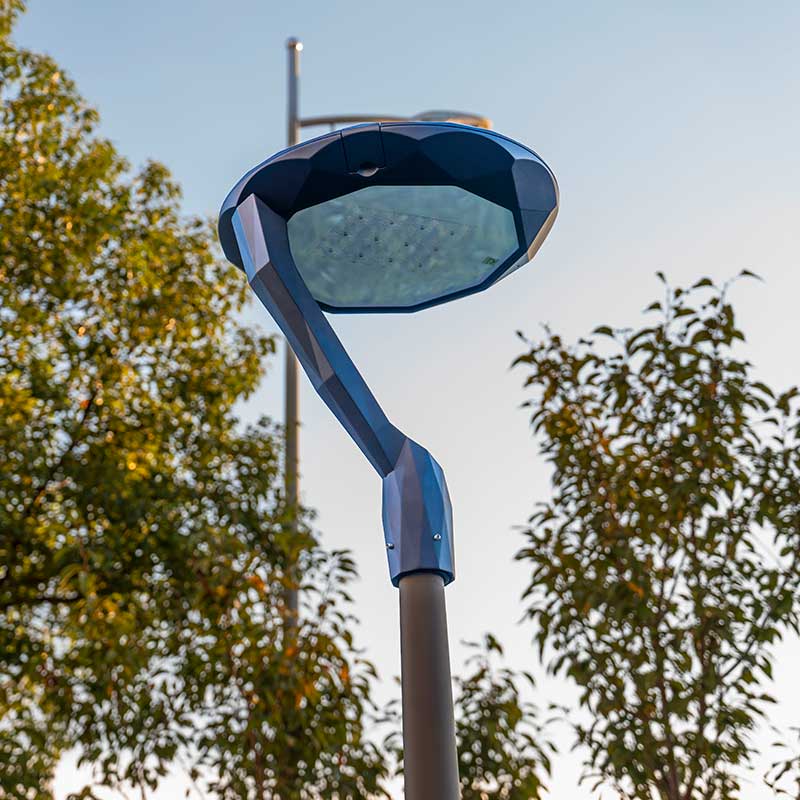
4. Lay out the Location and Install the Light Poles
Don’t rush into the installation process just yet.
Before concluding the street light pole installation procedure, you should first lay out the future position of the lights. This involves measuring the space between each light and marking where the poles will be installed. Ensuring proper spacing between each light is paramount to preventing driving incidents. Too little space will make the place overly bright, while in contrast, too much space will breed the existence of dark spots.
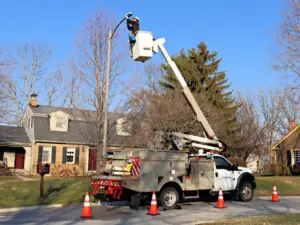
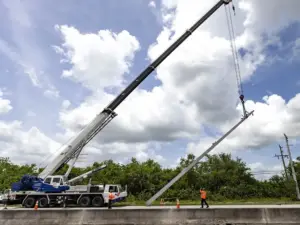
Once you’ve marked the location, you may continue the installation process. At this point, you’re probably curious about how to install a street light pole. It is a pretty straightforward procedure. First, dig a hole and place your pole inside it. After doing so, pour concrete to seal it before installing the light fixture on the pole.
Your pole must be installed at the correct height and angle. It becomes easier to guarantee the perfection of this task when you use the width of the roadway and the suitable brightness level to determine the pole’s height, which is usually around 15 to 25 feet tall.
5. Connect your Wiring
After completing the above step, you are all set to connect the wiring. It generally involves first connecting a wire conduit to the power source before attaching the wire to the luminaire. Make sure that your wiring is entirely secure and properly grounded to prevent electrical death traps. This is a mishap you should never allow to occur.
6. Test the Street lights
After completing the installation process, you may assess the fruit of your labor. Test every light and observe them carefully for flickers and their levels of brightness.
7. Maintain your Efforts
Just installing the streetlights doesn’t mean the work is completed. Streetlights require regular care and maintenance to ensure continuous efficiency for a long period.
Be sure to clear all debris in the light fixtures that reduce light output and replace the bulbs as needed to maintain optimum brightness. If an issue arises, do not drag it out; instead, call a professional for immediate repairs to fix the damage and identify any concealed problems.
How Much Does It Cost To Install A Street Light?
The available budget is also a defining factor in installing streetlights. Common street lights typically cost around $110 to $180, while street light poles could be up to $3000, not including manpower. High-pressure sodium or halogen lights are among the cheapest and can sell for around $60 to $70. Solar street lights are more costly, selling for around $400 per light. The answer to “How much does it cost to install street lights?” depends on the light that catches your fancy.
Conclusion:
Installing street lights is a valuable investment that benefits every member of a community. They contribute to public safety and development, preventing driving incidents and criminal activities. The keys to a successful street light installation include proper planning, authorization, location assessment, and maintenance.
Before you embark on the task of installing a street light in a public, commercial, or residential space, consider the above factors. Sit down and question yourself: how much does it cost to install a street light? If you can confidently provide a positive answer to this question, follow this guide and make your dream of creating a properly lit environment come true.